

1. Introduction – The Story
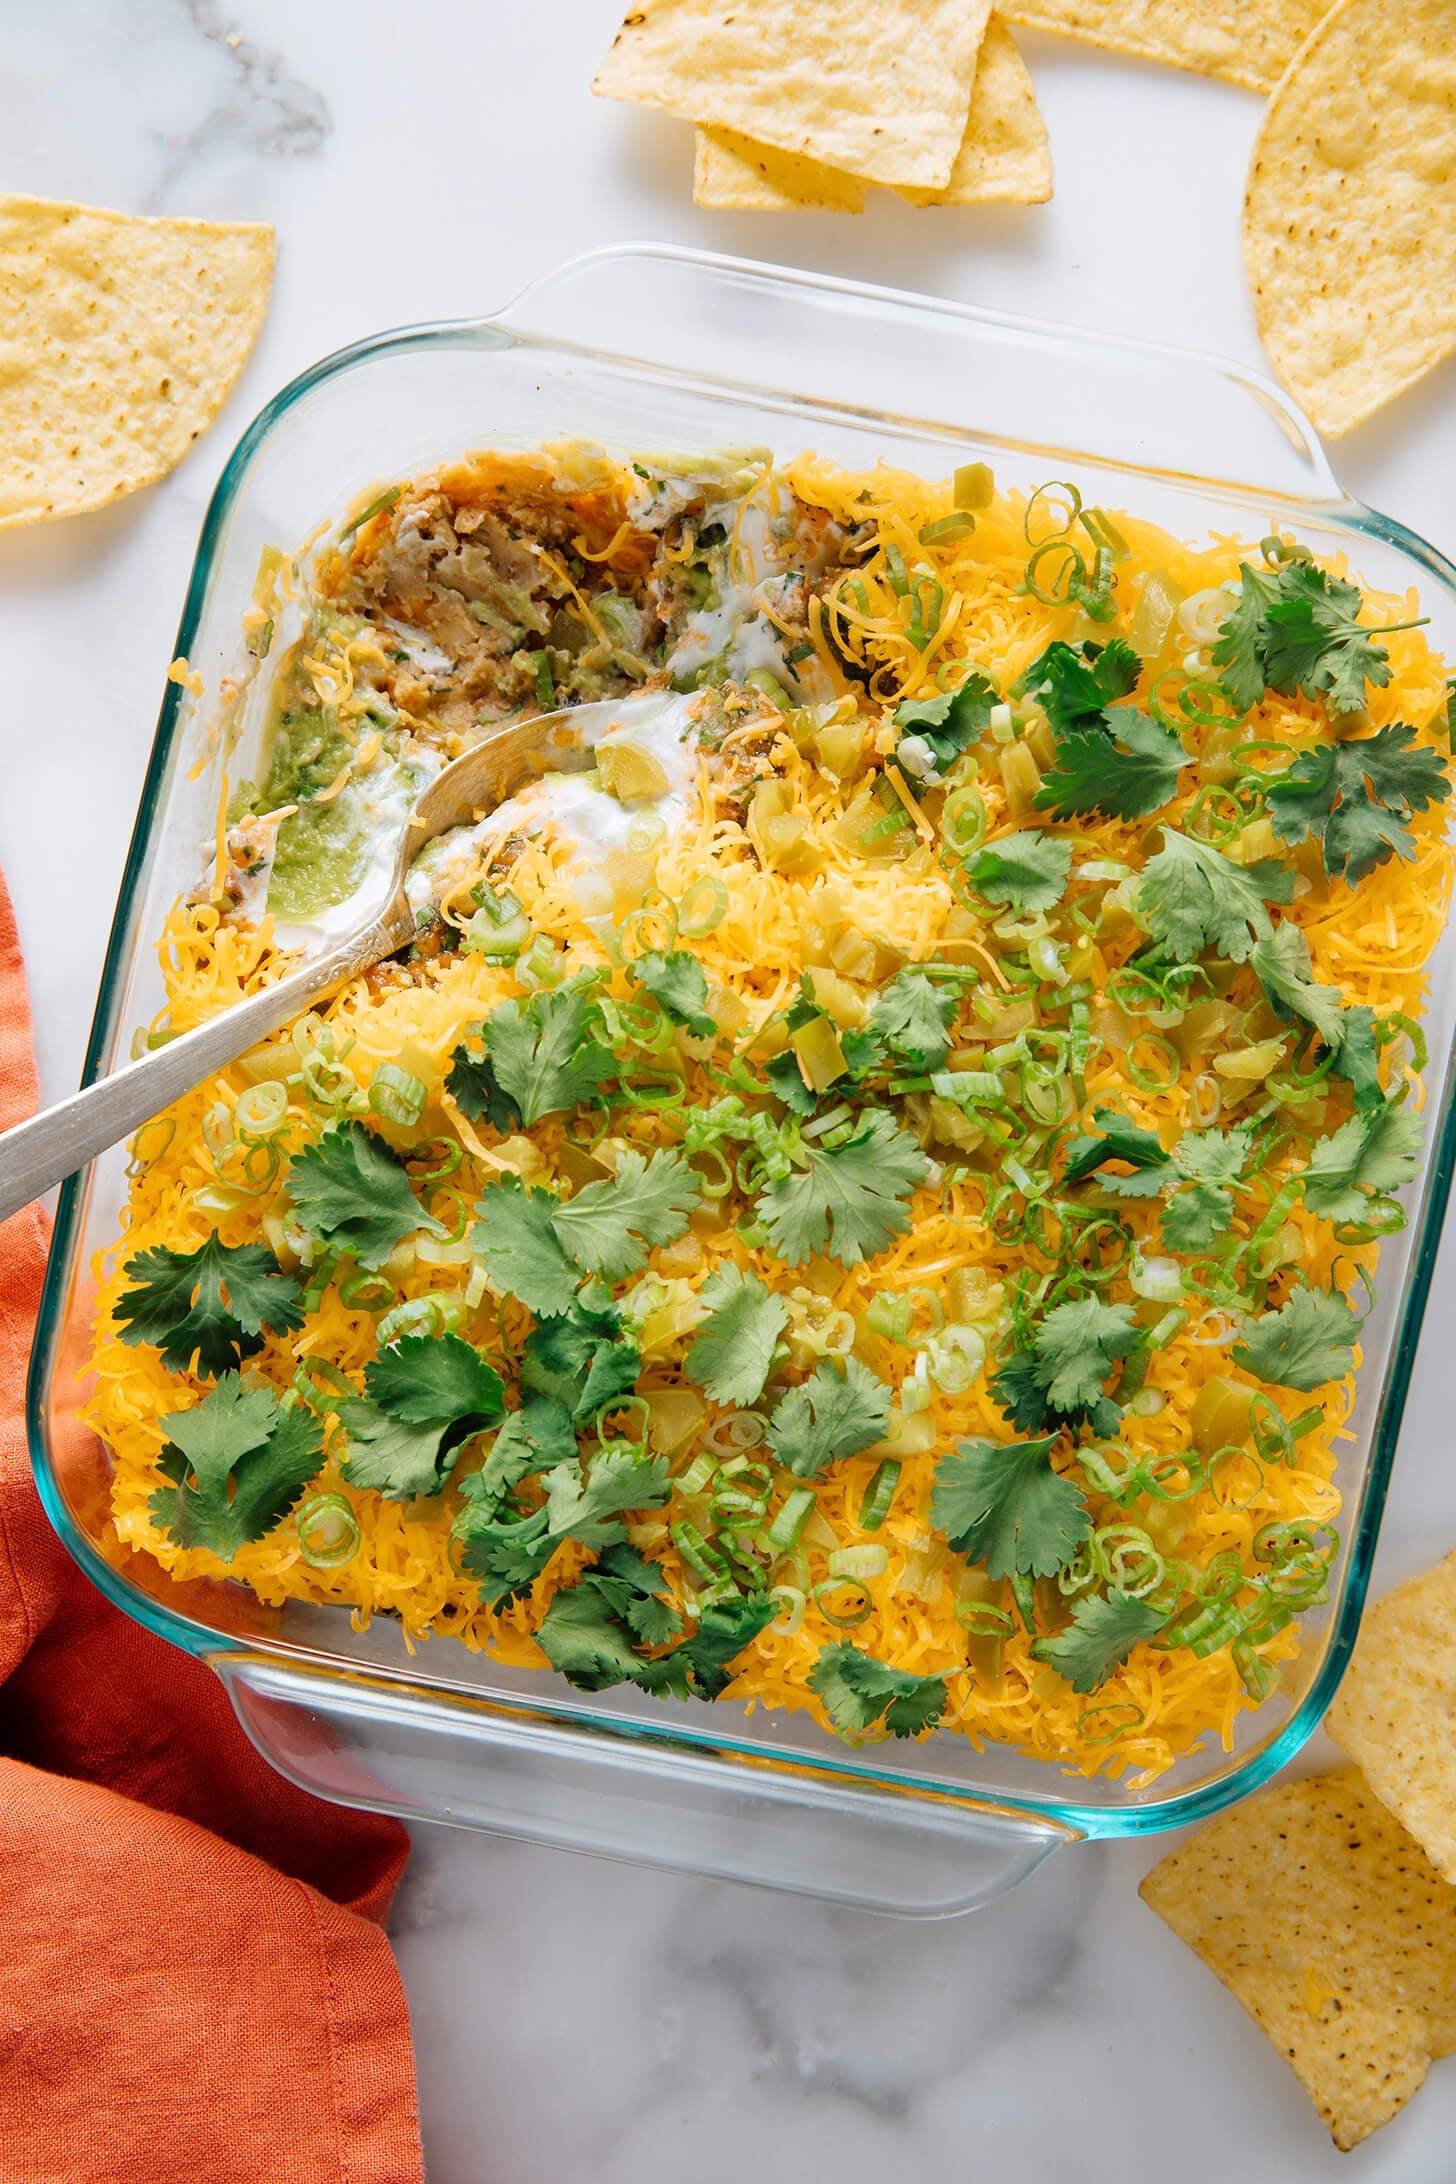
There is nothing quite like gathering around a table with friends and digging into a vibrant, crowd-pleasing classic layer dip. This irresistible Tex-Mex appetizer holds a special place in my heart because it combines cool, creamy, and spicy textures into one stunning dish. Every single scoop delivers an explosion of fresh flavor that instantly elevates game days, parties, and casual weekend get-togethers.
- 1. Introduction – The Story
- 2. Why You Will Love The Recipe
- 3. Ingredients
- 4. Required Equipment
- 5. Step-by-Step Guide
- Step 1: Prep and Mash the Fresh Ingredients
- Step 2: Spread the Creamy Layers and Add Cheese
- Step 3: Garnish and Serve with Tortilla Chips
- 6. Pro Tips & Variations
- 7. Nutritional Information per Serving
- 8. FAQ
- 9. Conclusion
2. Why You Will Love The Recipe
- Ultimate Crowd Pleaser: Layered dips are universally adored at parties, ensuring your serving dish will be completely cleaned out by the end of the night.
- No Cooking Required: This refreshing appetizer comes together entirely without turning on the stove or oven, saving you valuable time.
- Vibrant Textural Contrast: Every bite features a harmonious blend of creamy refried beans, smooth guacamole, tangy sour cream, and sharp cheddar cheese.
3. Ingredients
| Ingredient | Quantity | Pro Tip |
| Refried beans | 1 can (16 oz) | Mix in a spoonful of taco seasoning to give the bean base an extra punch of flavor. |
| Ripe avocados | 3 medium | Choose avocados that yield slightly to gentle pressure for the creamiest texture. |
| Sour cream | 1 cup | Whip it briefly with a bit of lime juice to make it easier to spread over the layers. |
| Shredded cheddar cheese | 2 cups | Shred your own cheese from a block for a superior melt and richer taste. |
| Fresh salsa | 1 cup | Strain any excess liquid from the salsa so your dip layers do not become watery. |
4. Required Equipment
- Glass baking dish or shallow serving platter
- Mixing bowls (medium and large)
- Chef’s knife and cutting board
- Silicone spatula and spreading spoons
- Citrus juicer
5. Step-by-Step Guide
Step 1: Prep and Mash the Fresh Ingredients
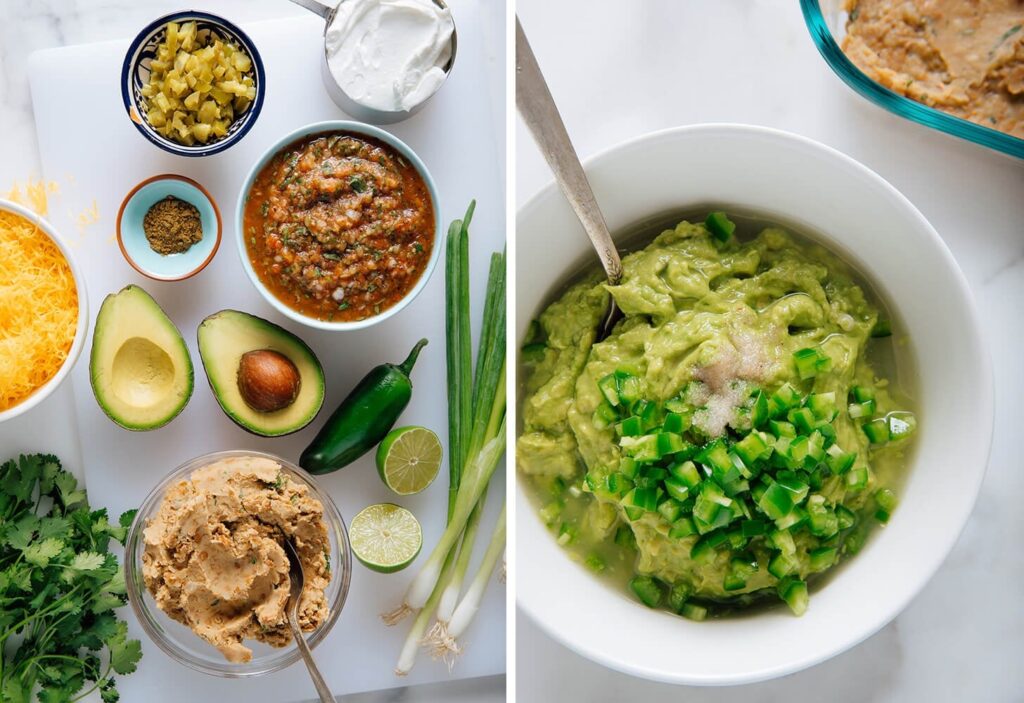
Begin by organizing all your fresh components on a clean work surface, including halved avocados, limes, cilantro, spices, and a bowl of refried beans. Scoop the ripe avocado flesh into a large white bowl and mash it thoroughly with a fork along with freshly squeezed lime juice, salt, and diced jalapeños. Taking time to mash the avocados just right provides a rich, buttery green foundation that will resist browning.
- Pro Tip: Press plastic wrap directly onto the surface of the mashed avocado mixture if you need to pause before assembling to keep it bright green
Step 2: Spread the Creamy Layers and Add Cheese
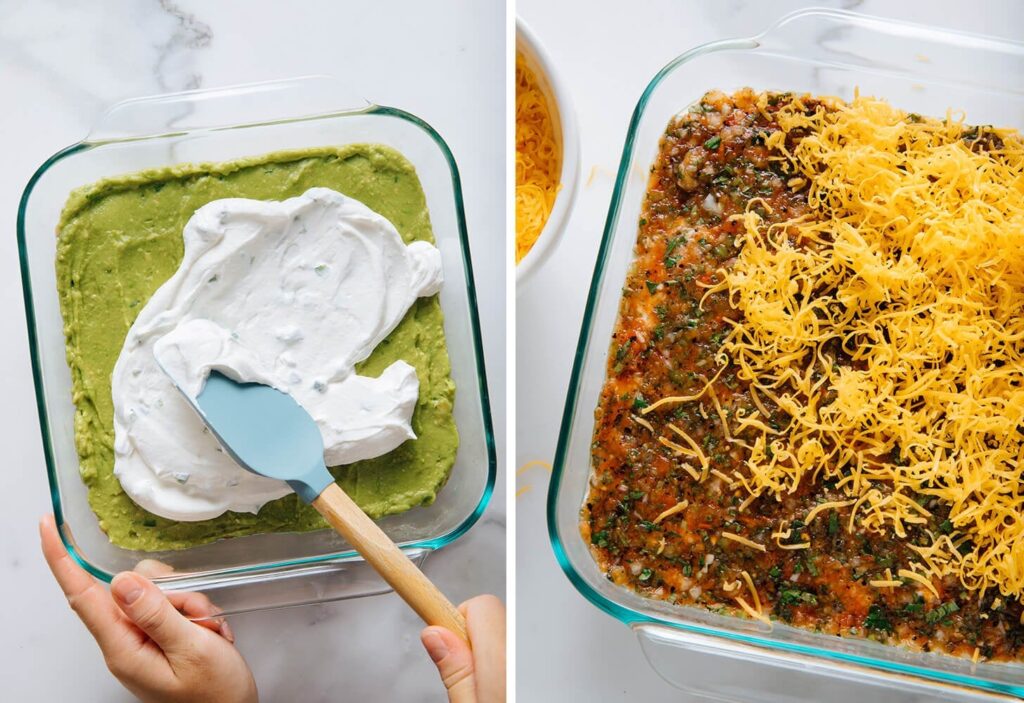
Take your glass baking dish and carefully spread a smooth, even layer of refried beans and vibrant green guacamole across the bottom. Next, use a silicone spatula to gently glide a velvety layer of sour cream right over the guacamole without disturbing the green layer underneath. Finally, scatter a generous blanket of freshly shredded cheddar cheese and chunky salsa evenly across the top to lock in the vibrant colors.
- Pro Tip: Use a spatula with a flexible edge to create clean, even boundaries so every layer remains distinct and visually appealing through the glass.
Step 3: Garnish and Serve with Tortilla Chips
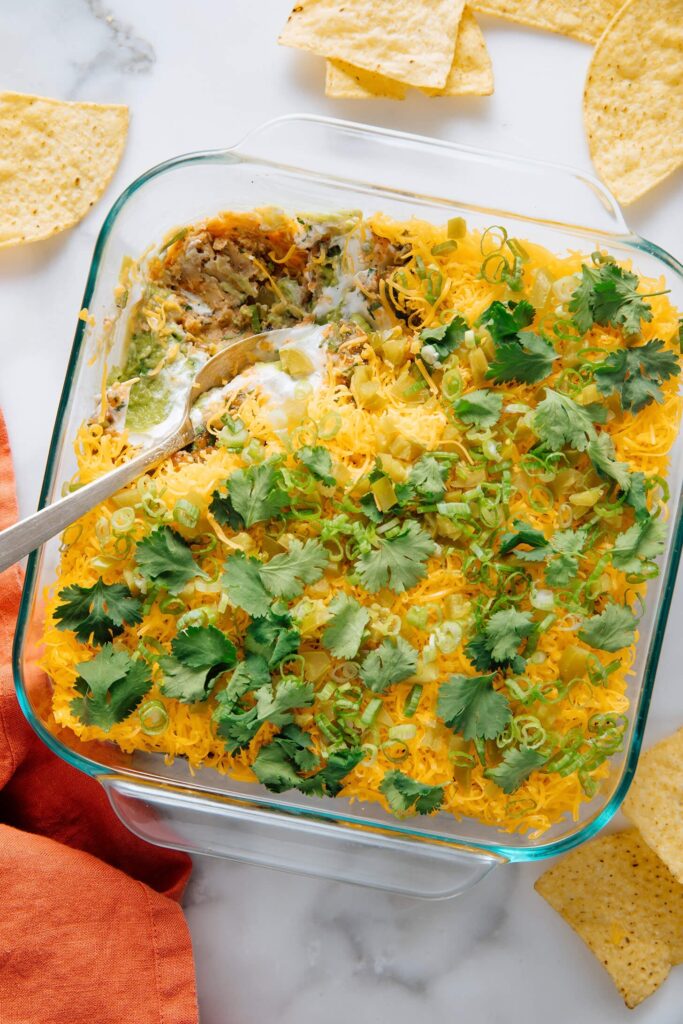
Finish your masterpiece by scattering chopped green onions, fresh cilantro leaves, and pickled jalapeño pieces across the golden cheese layer for a pop of color and bite. Surround the serving dish with an abundance of crispy tortilla chips ready for dipping into the rich, multi-layered goodness. This final presentation creates an eye-catching centerpiece that looks as incredible as it tastes.
- Pro Tip: Chill the completed layer dip in the refrigerator for thirty minutes before serving to help the layers firm up and slice cleanly.
6. Pro Tips & Variations
- Expert Tip 1 (Prevent Browning): A generous squeeze of fresh lime juice mixed directly into the guacamole layer stops oxidation and keeps the dip looking vibrant green.
- Expert Tip 2 (Drain the Salsa): Always strain chunky salsa through a fine-mesh sieve beforehand to eliminate excess moisture that could make your dip soggy.
- Expert Tip 3 (Make Ahead): You can assemble this dip up to a day in advance, provided you cover it tightly with plastic wrap and keep it stored in the refrigerator.
- Variation Idea 1 (Spicy Kick): Layer in a generous amount of sliced pickled jalapeños or drizzle hot sauce over the cheese for an extra fiery profile.
- Variation Idea 2 (Protein Boost): Add a seasoned layer of cooked ground beef or black beans right on top of the refried bean layer for a heartier meal.
7. Nutritional Information per Serving
| Nutrient | Quantity |
| Calories | 240 kcal |
| Carbohydrates | 18 g |
| Protein | 7 g |
| Fat | 16 g |
| Saturated Fat | 6 g |
| Fiber | 5 g |
| Sodium | 380 mg |
8. FAQ
- Can I make this layer dip ahead of time? Yes, you can assemble the entire dish up to 24 hours in advance if you keep it tightly wrapped and refrigerated.
- How do I keep the guacamole from turning brown? Ensuring the guacamole layer is thoroughly sealed between the refried beans and sour cream protects it from air exposure and browning.
- What are the best chips to serve with layer dip? Sturdy restaurant-style corn tortilla chips or thick scoop chips work best because they won’t break under the heavy layers.
9. Conclusion
This classic layer dip is the ultimate no-fuss party appetizer that guarantees rave reviews from family and friends. Whip up a batch for your next gathering and watch it disappear in minutes!