
1. Introduction – The Story
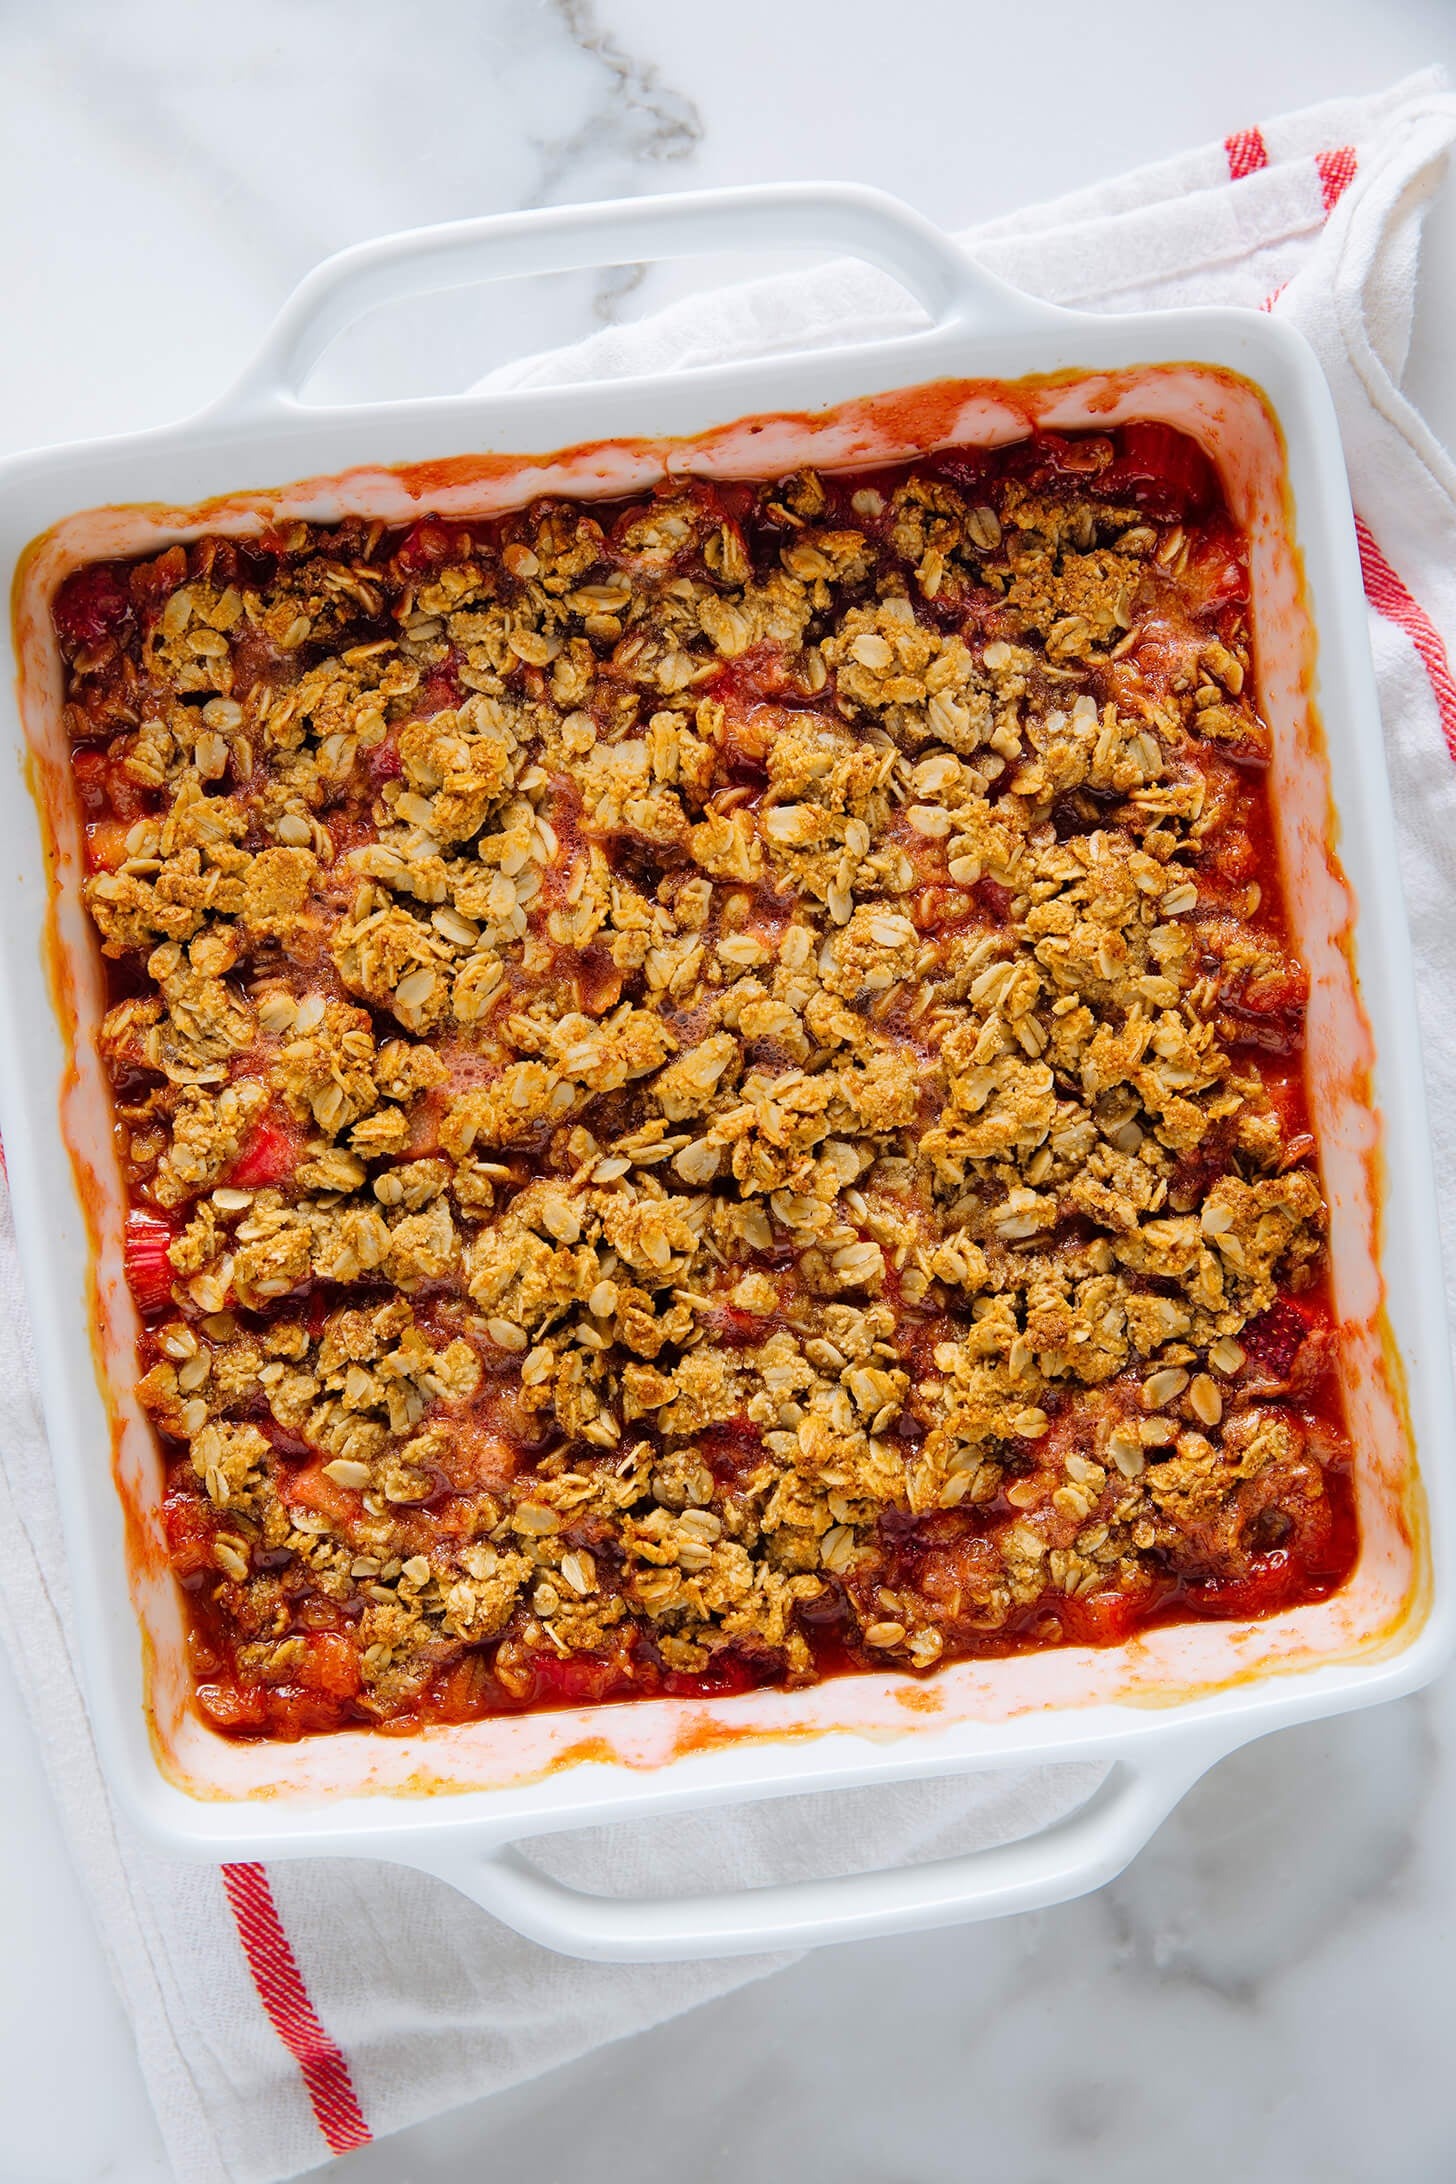
There is nothing quite like the comforting aroma of a bubbling fruit dessert fresh out of the oven on a lazy weekend afternoon. This classic strawberry rhubarb crisp holds a very special place in my heart because it captures the absolute best flavors of late spring. The brilliant combination of sweet, juicy strawberries and tart, tender rhubarb creates a harmonious balance that always leaves everyone reaching for seconds.
- 1. Introduction – The Story
- 2. Why You Will Love This Recipe
- 3. Ingredients
- 4. Required Equipment
- 5. Step-by-Step Guide
- Step 1: Prepare the Topping and Ingredients
- Step 2: Combine Fruit Filling and Assemble the Crisp
- Step 3: Bake Until Golden and Bubbly
- Step 4: Cool and Serve Warm
- 6. Pro Tips & Variations
- 7. Nutritional Information per Serving
- 8. FAQ
- 9. Conclusion
2. Why You Will Love This Recipe
- Perfect Balance of Flavors: The natural sweetness of ripe strawberries mellows the sharp, tangy punch of fresh rhubarb stalks.
- Incredibly Easy to Make: Requires very minimal prep work and comes together effortlessly without any complex pastry rolling.
- Irresistible Crunchy Topping: Features a buttery, golden oat crumble layer that adds an amazing textural contrast to the soft fruit filling.
3. Ingredients
| Ingredient | Quantity | Pro Tip |
| Fresh strawberries | 4 cups (halved) | Choose bright red, firm berries and hull them just before slicing to keep them from getting too watery. |
| Fresh rhubarb | 3 stalks (diced) | Trim the leaves completely, as they are toxic, and slice the pink stalks into uniform bite-sized pieces. |
| Rolled oats | 1 cup | Use old-fashioned rolled oats instead of instant oats to achieve a heartier, superior texture in the topping. |
| All-purpose flour | 3/4 cup | Spoon and level the flour into your measuring cup to avoid packing too much and drying out the crisp. |
| Unsalted butter | 1/2 cup (melted) | Let the melted butter cool slightly before mixing it into the oat topping to prevent the oats from getting soggy. |
4. Required Equipment
- 8×8 inch baking dish
- Large glass mixing bowls
- Measuring cups and spoons
- Mixing spoons and spatula
- Chef’s knife and cutting board
5. Step-by-Step Guide
Step 1: Prepare the Topping and Ingredients
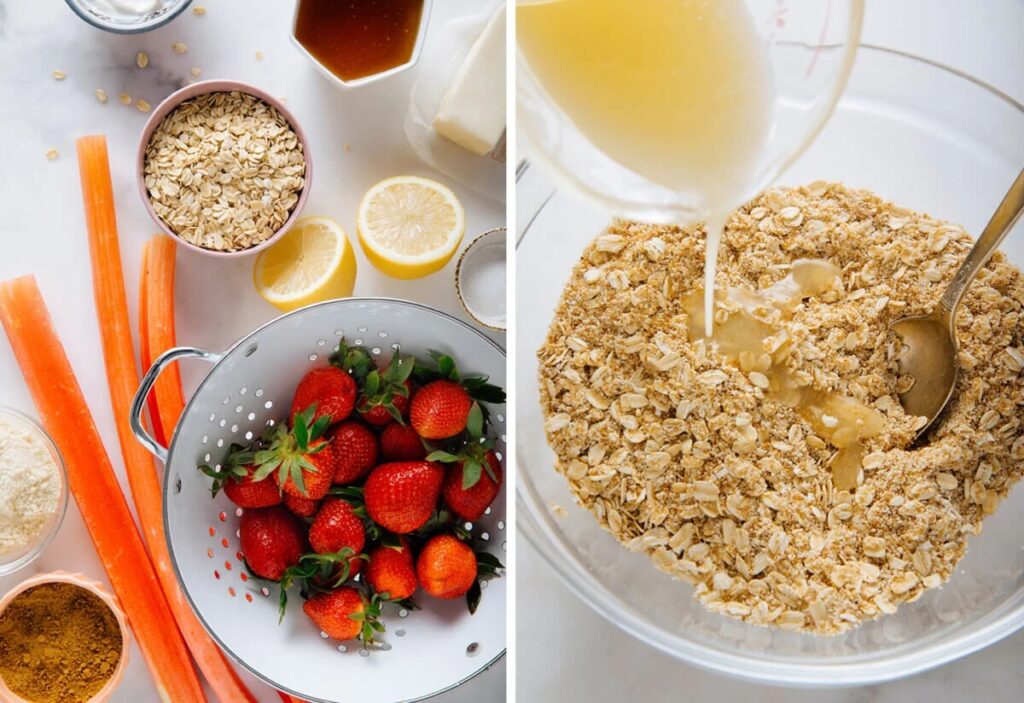
Begin by gathering all your fresh components on the kitchen counter, including vibrant strawberries in a colander, tart rhubarb stalks, rolled oats, and melted butter. In a large glass mixing bowl, combine the dry topping ingredients and pour the liquid bindings over the oats while stirring gently. This ensures the crumb mixture achieves an even consistency before it meets the fruit layer.
- Pro Tip: Mix the oat topping with a fork rather than a spoon to create those desirable small clumps that bake into crunchy clusters.
Step 2: Combine Fruit Filling and Assemble the Crisp
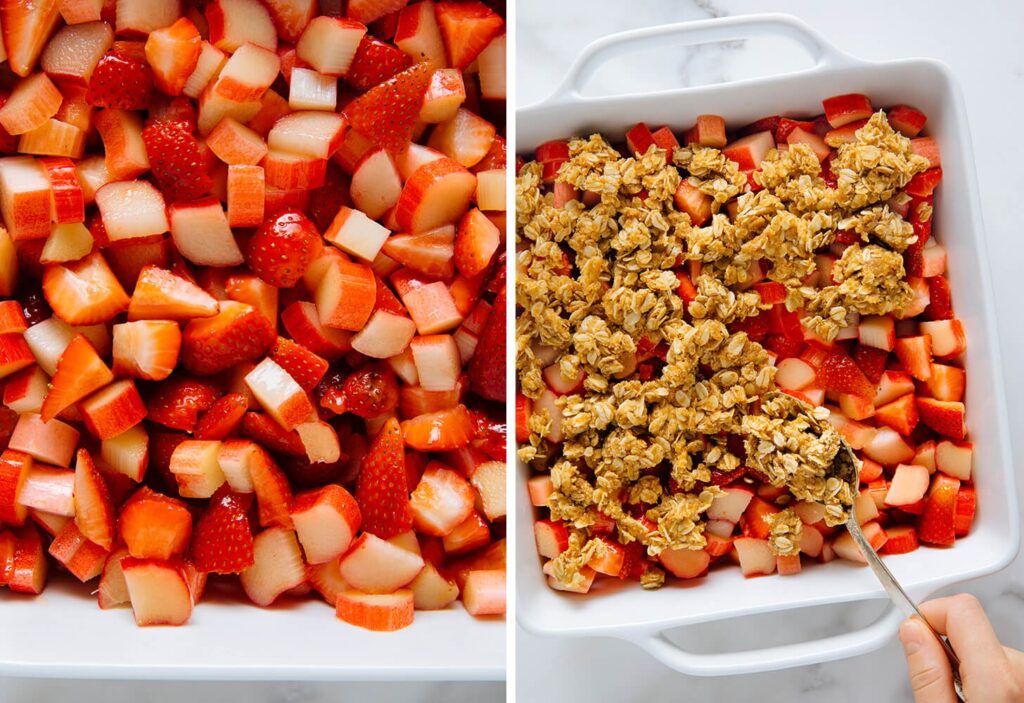
Chop your fresh strawberries and tart rhubarb into uniform pieces, tossing them together directly inside your baking dish to minimize cleanup. Evenly scatter your prepared oat crumble topping over the vibrant fruit layer until it blankets the filling completely. This ensures every single spoonful baked in the oven gets a generous share of that buttery crunch.
- Pro Tip: Press the oat topping down very lightly with the back of a spoon so it stays put while baking without becoming too compact.
Step 3: Bake Until Golden and Bubbly
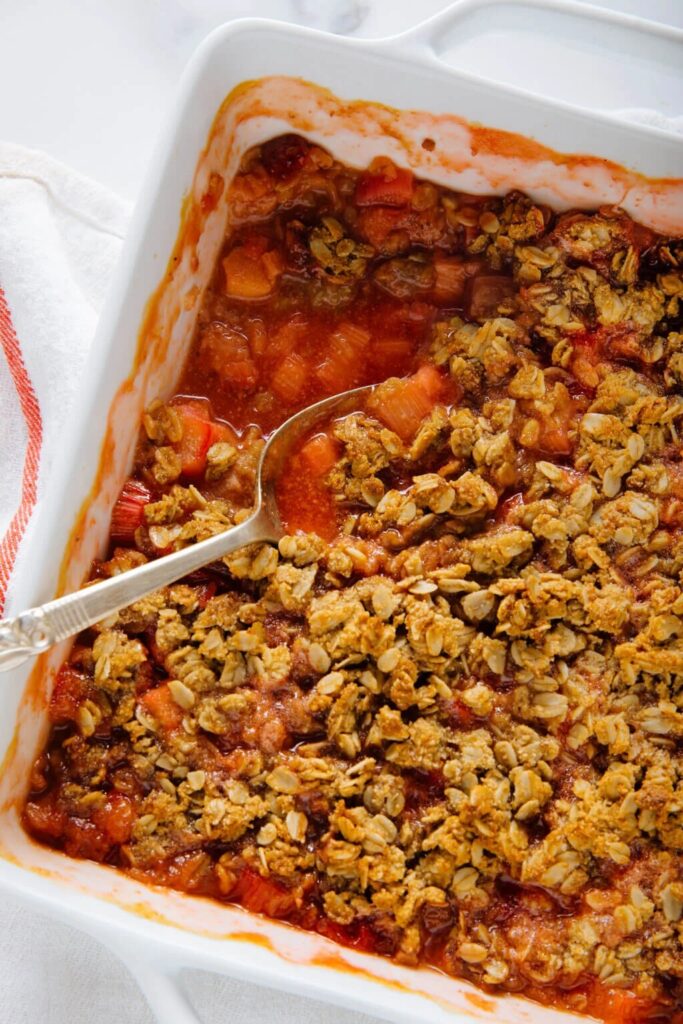
Place the baking dish into a preheated oven and bake until the edges bubble furiously with bright red fruit juices and the oat topping turns golden brown. Keep a close eye on the final minutes of baking so the crumble achieves a rich color without burning. The gorgeous aroma filling your kitchen will let you know when it is ready.
- Pro Tip: Place a baking sheet lined with foil on the rack underneath your dish to catch any sweet bubbling fruit juices that might overflow.
Step 4: Cool and Serve Warm
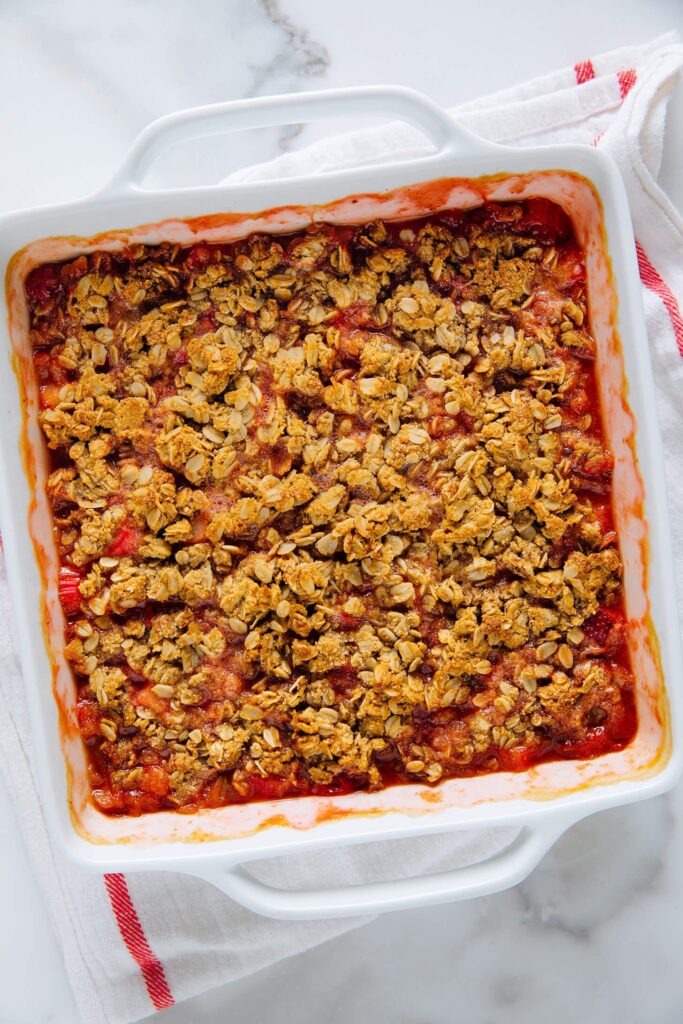
Remove the crisp from the oven and allow it to cool slightly on a wire rack so the fruit juices can thicken up properly. Spoon generous portions into bowls while still warm, letting the sweet juices mingle with the crispy oat topping. It tastes absolute perfection when served alongside a melting scoop of vanilla bean ice cream.
- Pro Tip: Let the dessert rest for at least fifteen minutes after baking to ensure the piping hot filling sets and doesn’t fall apart when served.
6. Pro Tips & Variations
- Expert Tip 1 (Choosing Rhubarb): Look for firm, crisp stalks with a vibrant pink or red color, as thinner stalks tend to be more tender and flavorful.
- Expert Tip 2 (Thickening Juices): Stir a tablespoon of cornstarch or arrowroot powder directly into the fruit mixture if your strawberries are exceptionally juicy.
- Expert Tip 3 (Storage Instructions): Keep leftover crisp covered in the refrigerator for up to four days and reheat individual portions in the microwave or oven.
- Variation Idea 1 (Nutty Crunch): Mix a half-cup of chopped pecans or sliced almonds into the oat topping for an extra layer of nutty flavor.
- Variation Idea 2 (Citrus Zest): Add a teaspoon of fresh orange or lemon zest to the fruit filling to brighten up the sweet berry flavor profile.
7. Nutritional Information per Serving
| Nutrient | Quantity |
| Calories | 260 kcal |
| Carbohydrates | 38 g |
| Protein | 3 g |
| Fat | 11 g |
| Saturated Fat | 6 g |
| Fiber | 4 g |
| Sodium | 140 mg |
8. FAQ
- Can I use frozen strawberries and rhubarb for this recipe? Yes, you can use frozen fruit, but make sure to thaw and drain them thoroughly first to prevent excess liquid.
- How do I prevent the oat topping from getting soggy? Ensure your melted butter is cooled before mixing and don’t skip baking uncovered for the entire duration.
- Can I make this recipe gluten-free? Absolutely! Just substitute the all-purpose flour with a 1:1 gluten-free baking blend and certified gluten-free rolled oats.
9. Conclusion
This classic strawberry rhubarb crisp delivers the ultimate balance of sweet summer berries and tangy spring stalks under a golden, buttery crust. Bake a batch tonight and treat your family to a homemade dessert they will remember!