

1. Introduction – The Story
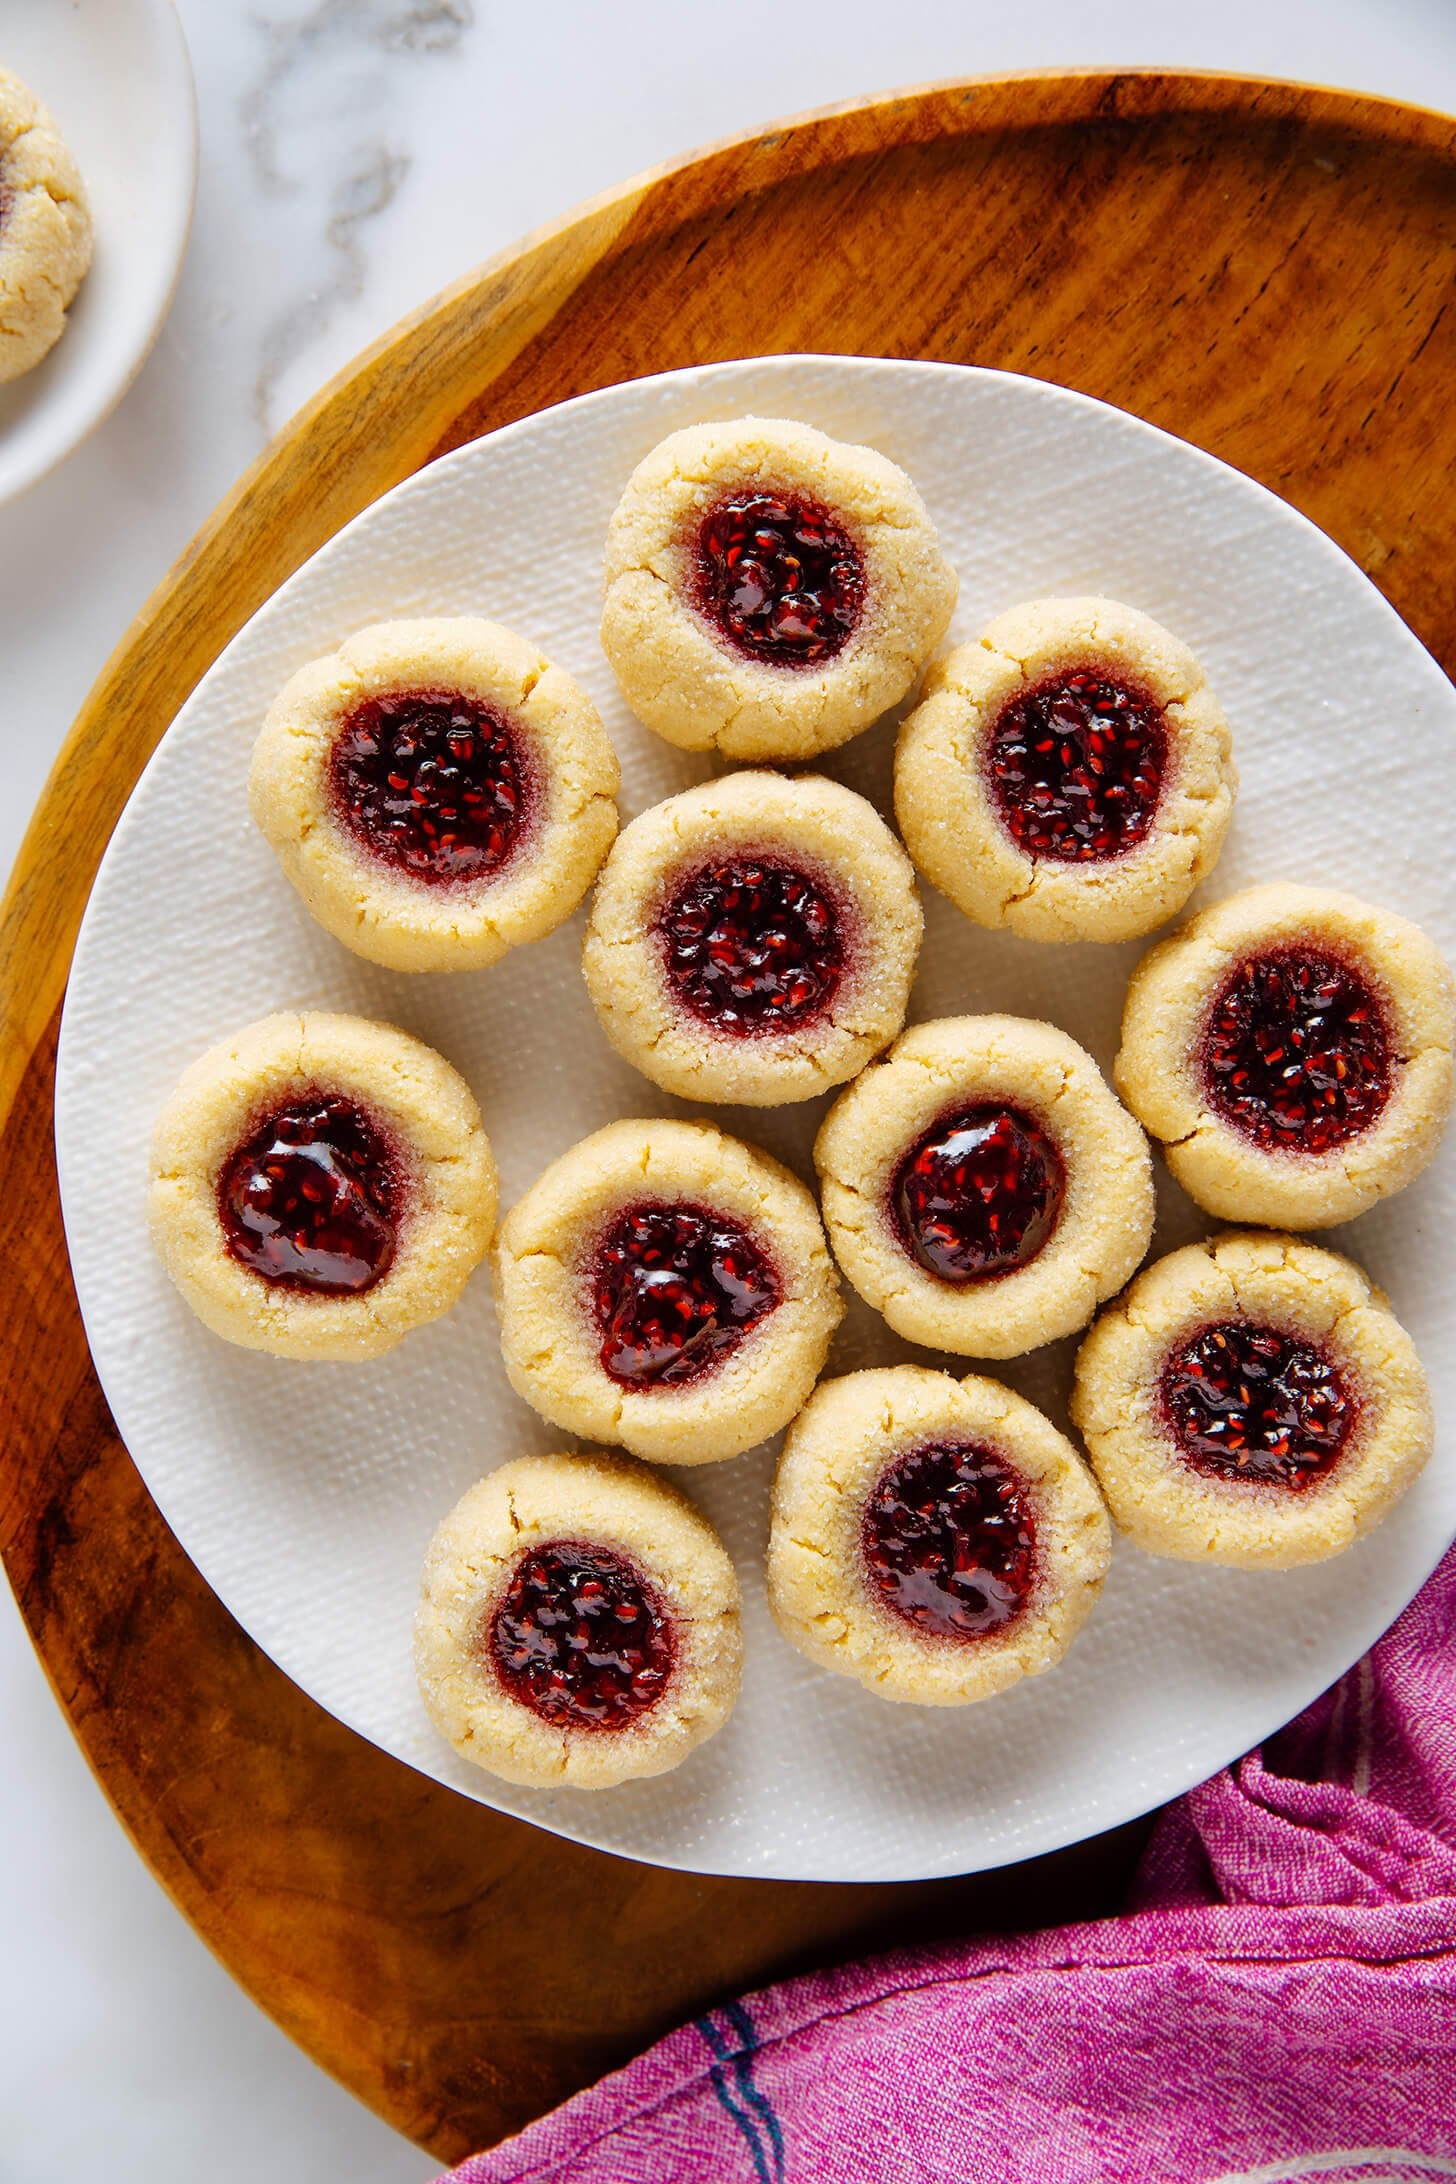
Baking a fresh batch of classic jam thumbprint cookies always brings back cherished memories of cozy weekend afternoons spent in the kitchen. These delightful little treats combine a buttery, tender shortbread base with a sweet burst of fruit preserves in the center. Making them is a wonderfully rewarding tradition that fills the entire home with an irresistible aroma.
- 1. Introduction – The Story
- 2. Why You Will Love This Recipe
- 3. Ingredients
- 4. Required Equipment
- 5. Step-by-Step Guide
- Step 1: Creaming and Mixing the Dough
- Step 2: Rolling and Filling the Cookies
- Step 3: Arranging on the Baking Sheet
- Step 4: Inspecting the Baked Cookies
- Step 5: Plating and Serving
- 6. Pro Tips & Variations
- 7. Nutritional Information per Serving
- 8. FAQ
- 9. Conclusion
2. Why You Will Love This Recipe
- Melt-In-Your-Mouth Texture: Features a buttery, delicate crumb that tenderly dissolves with every single bite.
- Customizable Fruit Centers: Allows you to easily swap out jam flavors to match your personal favorites or seasonal holidays.
- Simple Pantry Ingredients: Relies on basic baking staples you likely already have stocked in your kitchen cabinets.
3. Ingredients
| Ingredient | Quantity | Pro Tip |
| Unsalted butter | 1 cup | Soften the butter to room temperature so it creams smoothly and incorporates air evenly. |
| Granulated sugar | 2/3 cup | Reserve a small portion of the sugar in a separate bowl for rolling the cookie dough balls. |
| Vanilla extract | 1.5 teaspoons | Use pure vanilla extract for a rich, aromatic flavor profile that enhances the buttery dough. |
| All-purpose flour | 2.25 cups | Measure the flour accurately using the spoon-and-level method to prevent dry or crumbly cookies. |
| Raspberry jam | 1/2 cup | Stir the jam thoroughly until smooth so it spoons neatly into the indentations without clumping. |
4. Required Equipment
- Large glass mixing bowls
- Electric hand mixer or stand mixer
- Measuring cups and spoons
- Baking sheets
- Parchment paper
- Small spoon or melon baller
5. Step-by-Step Guide
Step 1: Creaming and Mixing the Dough
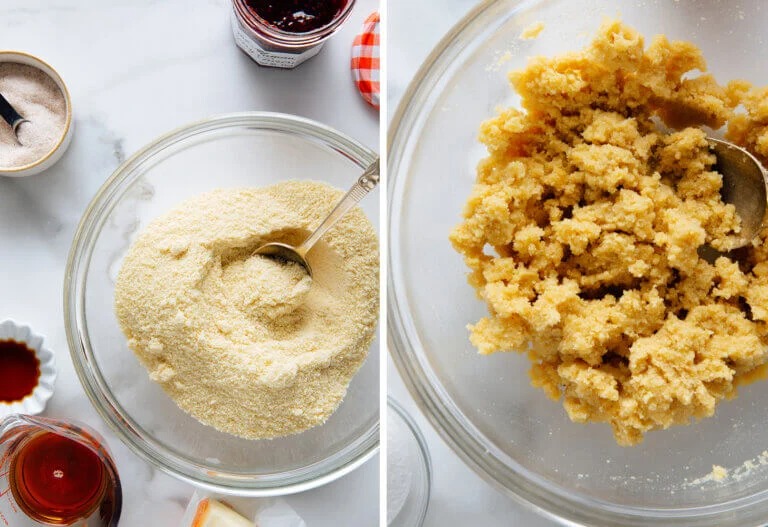
Start by combining your softened butter and sugar in a large glass mixing bowl, beating them together until light and fluffy. Gradually incorporate the dry flour mixture and vanilla extract, mixing until a crumbly yet cohesive dough forms. Ensure you do not overmix the dough to keep the final cookies tender and delicate.
- Pro Tip: Scrape down the sides of your mixing bowl with a rubber spatula periodically to ensure all ingredients are evenly incorporated.
Step 2: Rolling and Filling the Cookies
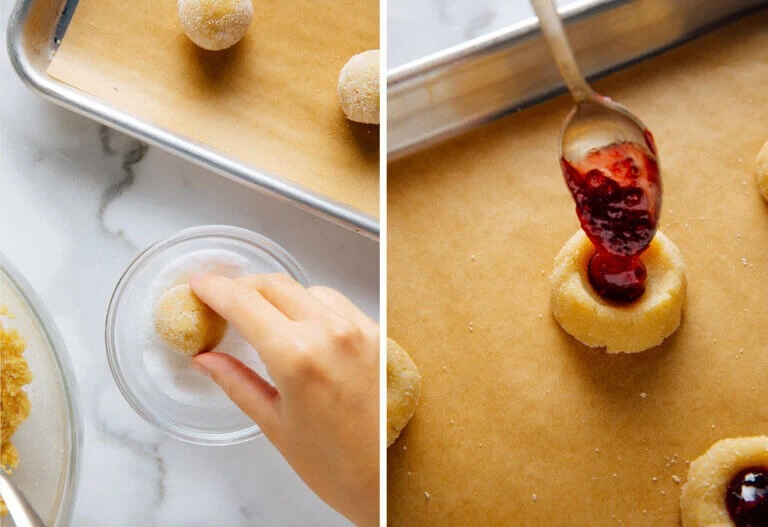
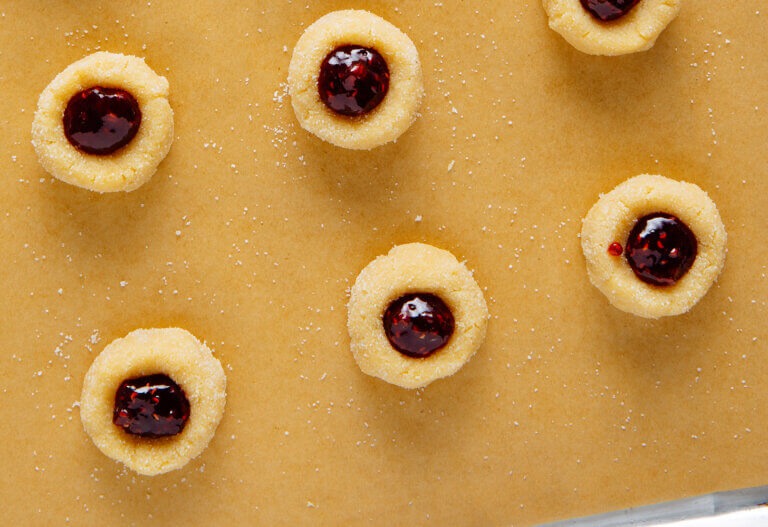
Scoop uniform portions of the dough, roll them gently between your palms into smooth spheres, and coat them in granulated sugar. Place the sugar-coated dough balls onto a parchment-lined baking sheet and press a small indentation into the center of each one. Carefully spoon a dollop of sweet fruit jam into each indented center.
- Pro Tip: Use the back of a round teaspoon or your thumb to press the indentation gently without cracking the edges of the dough.
Step 3: Arranging on the Baking Sheet
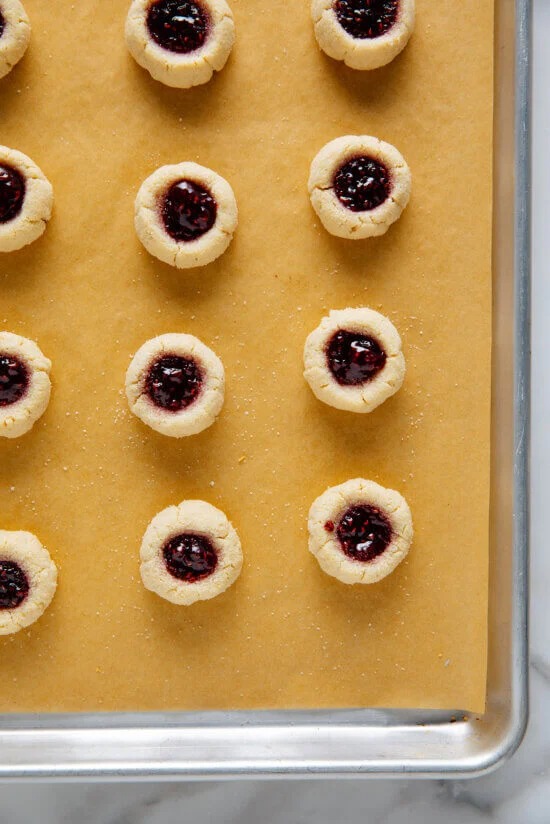
Arrange the filled cookie dough rounds evenly across the parchment-lined baking sheet, leaving enough space between them for slight expansion. Proper spacing ensures that the heat circulates evenly around each cookie during the baking process. A well-organized tray leads to uniform, beautifully shaped treats every time.
- Pro Tip: Chill the assembled baking sheet in the refrigerator for ten minutes before baking to help the cookies maintain their shape.
Step 4: Inspecting the Baked Cookies
Once baked to a light golden brown, remove the warm cookies from the oven and let them cool completely on the pan. Inspect the jam centers to ensure they have set into a glossy, beautiful pool of fruit flavor. Taking time to let them rest prevents the delicate cookies from breaking apart when transferred.
- Pro Tip: Let the cookies rest on the hot baking sheet for five minutes before transferring them carefully to a wire cooling rack.
Step 5: Plating and Serving
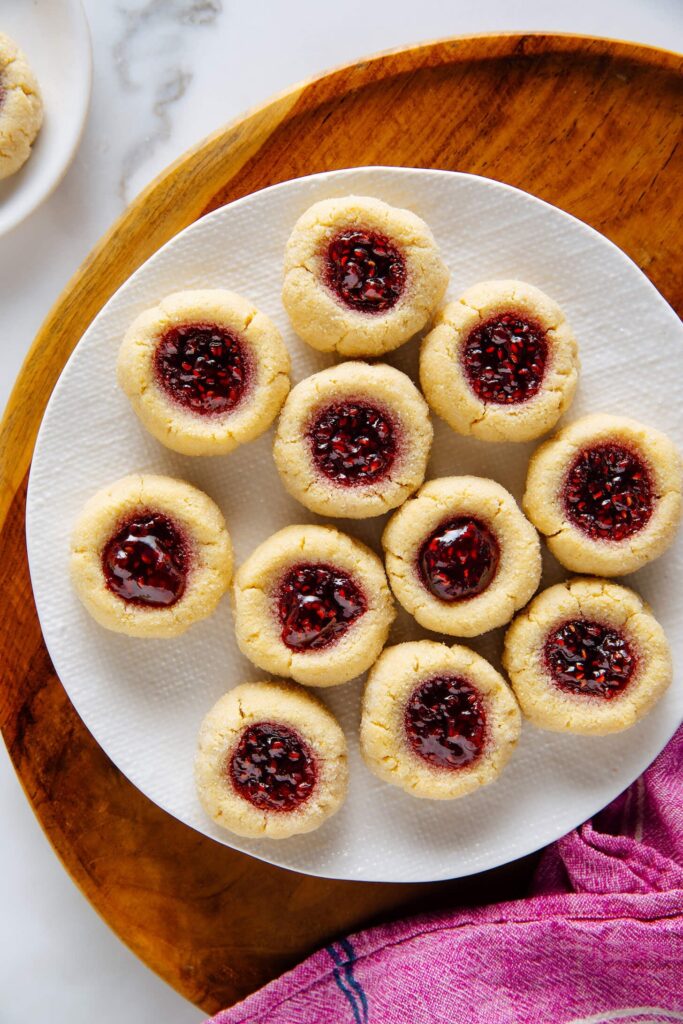
Transfer the cooled cookies onto a decorative white plate set atop a rustic wooden serving board for a gorgeous presentation. The vibrant red jam centers contrast beautifully against the golden-baked shortbread exterior. Serve these crowd-pleasing treats alongside a hot cup of tea or coffee for an afternoon delight.
- Pro Tip: Dust the cooled cookies lightly with powdered sugar just before serving to add an extra touch of elegance.
6. Pro Tips & Variations
- Expert Tip 1 (Preventing Spread): Chill your shaped dough balls in the refrigerator for 15 minutes before baking to prevent them from flattening out too much in the oven.
- Expert Tip 2 (Jam Consistency): Warm your jam slightly in the microwave for 10 seconds to make it easier to pipe or spoon into the cookie indentations.
- Expert Tip 3 (Storage): Store baked thumbprint cookies in an airtight container at room temperature with layers of parchment paper for up to five days.
- Variation Idea 1 (Lemon Curd Centers): Replace the traditional fruit jam with tart lemon curd for a zesty, bright citrus twist on classic thumbprint cookies.
- Variation Idea 2 (Nutty Crust): Roll the exterior of the dough balls in finely chopped pecans or walnuts before making the center indentation for a crunchy texture.
7. Nutritional Information per Serving
| Nutrient | Quantity |
| Calories | 160 kcal |
| Carbohydrates | 22 g |
| Protein | 2 g |
| Fat | 8 g |
| Saturated Fat | 5 g |
| Fiber | 1 g |
| Sodium | 65 mg |
8. FAQ
- Why did my thumbprint cookies crack while shaping? The dough might be a bit too cold or dry; let it warm up slightly or knead in a tiny drop of milk.
- Can I freeze these cookies after baking? Yes, baked cookies freeze wonderfully in an airtight container for up to two months without the jam losing its texture.
- What other fillings can I use besides jam? You can fill them with caramel, chocolate ganache, or fruit preserves depending on your flavor preferences.
9. Conclusion
These classic jam thumbprint cookies are a joy to bake and even more wonderful to share with family and friends. Whip up a batch today and enjoy their comforting, buttery goodness!