
1. Introduction – The Story
I started making homemade pita chips on accident—one night I had extra pita bread, a half-empty tub of hummus, and zero interest in going back to the store. I brushed the pita with olive oil, sprinkled on whatever spices I had, and baked it “just to see.” The result was dangerously good: crisp, golden, and way more flavorful than most bagged chips. Now, homemade pita chips are my favorite fast snack for hosting, meal prep, and last-minute “dip dinners.”
- 1. Introduction – The Story
- 2. Why You Will Love This Recipe
- 3. Ingredients
- 4. Required Equipment
- 5. Step-by-Step Guide
- Step 1: Brush the Pita with Olive Oil and Seasonings
- Step 2: Cut into Triangles and Arrange on Sheet Pans
- Step 3: Bake Until Golden and Crisp, Then Flip if Needed
- Step 4: Cool Completely for Maximum Crunch
- Step 5: Serve with Hummus, Veggies, and Your Favorite Dips
- 6. Pro Tips & Variations
- 7. Nutritional Information per Serving
- 8. FAQ
- 9. Conclusion
2. Why You Will Love This Recipe
- Bold, Toasty Flavor: Olive oil plus seasonings turn simple pita into crunchy, savory baked pita chips with real character.
- Crispy, Not Greasy: Baking gives you that satisfying crunch without deep-frying or heavy oil.
- Perfect for Dips and Boards: Homemade pita chips pair with hummus, tzatziki, baba ganoush, salsa, or even cheese spreads.
3. Ingredients
| Ingredient | Quantity | Pro Tip |
|---|---|---|
| Pita bread (white or whole wheat) | 6 rounds | Slightly stale pita makes extra-crispy chips. |
| Olive oil | 3 tbsp | Use a flavorful extra-virgin olive oil for the best taste. |
| Flaky sea salt | 1/2–1 tsp | Add after oil so it sticks (and use less if your dip is salty). |
| Sesame seeds (optional) | 1 tbsp | Adds crunch and a nutty aroma—great with hummus. |
| Dried oregano or Italian seasoning (optional) | 1 tsp | Sprinkle lightly; herbs can burn if you overdo it. |
| Garlic powder (optional) | 1/2 tsp | Garlic powder is more oven-friendly than fresh garlic. |
| Smoked paprika or chili powder (optional) | 1/2 tsp | For a warm, slightly smoky “snack mix” vibe. |
4. Required Equipment
- Baking sheets (1–2)
- Parchment paper (recommended)
- Pastry brush (or spoon for drizzling oil)
- Cutting board
- Sharp knife or kitchen scissors
- Mixing bowl (optional)
- Cooling rack (optional)
5. Step-by-Step Guide
Step 1: Brush the Pita with Olive Oil and Seasonings
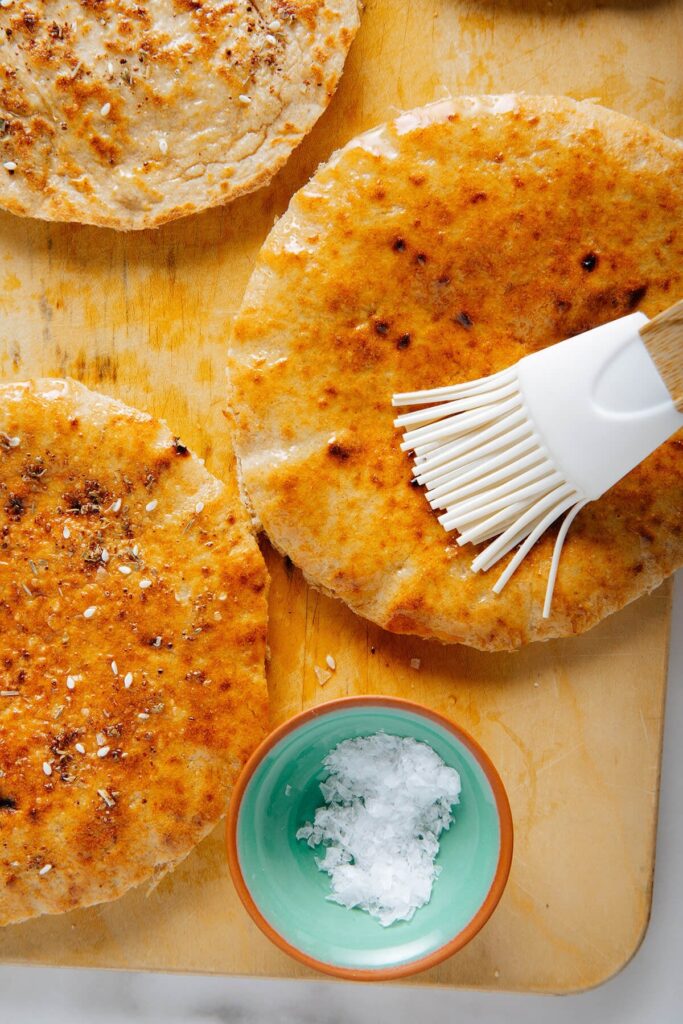
Lay the pita rounds on a cutting board and brush them generously with olive oil on both sides. Sprinkle with flaky salt and your favorite seasoning mix—sesame seeds, dried herbs, garlic powder, or smoked paprika all work beautifully. This is where homemade pita chips get their “wow” factor, so don’t be afraid to season confidently (but evenly). Once coated, let the pita sit for a minute so the oil absorbs slightly.
Pro Tip: If your pita has a pocket, carefully split it into two thinner rounds before brushing—thinner chips crisp faster and more evenly.
Step 2: Cut into Triangles and Arrange on Sheet Pans
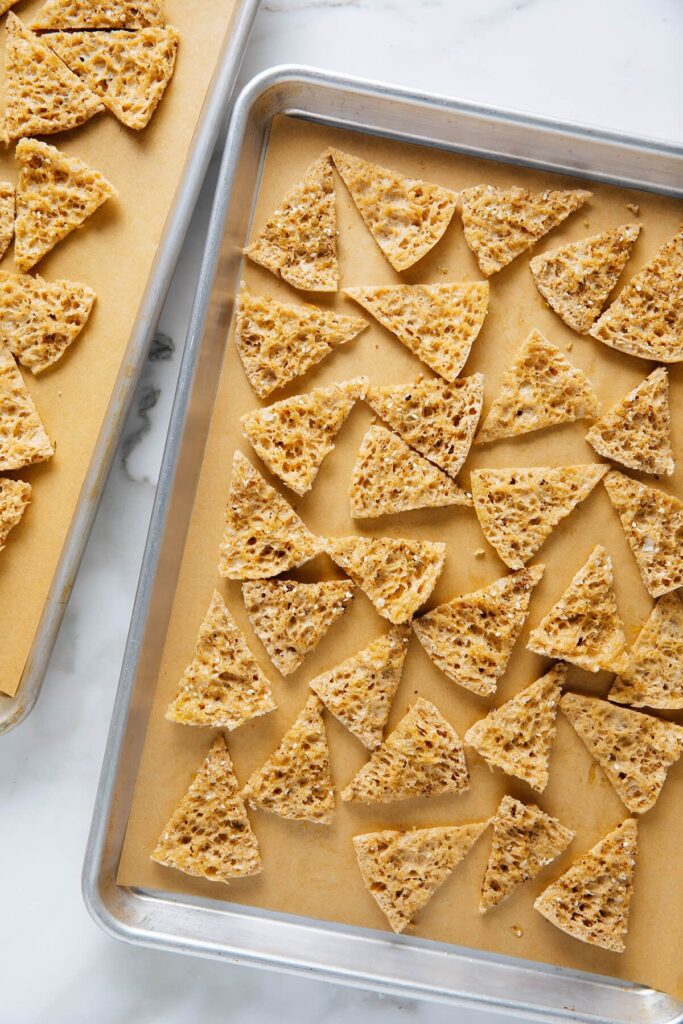
Cut each pita round into 8 triangles (like slicing a pizza). Spread the triangles on parchment-lined baking sheets in a single layer; overlapping pieces will steam instead of crisp. If you’re baking a lot, use two pans so there’s enough airflow around each chip. This step is simple, but spacing is what separates “meh” chips from truly crispy pita chips.
Pro Tip: Keep triangle sizes consistent so everything finishes baking at the same time—tiny pieces can burn while larger ones stay soft.
Step 3: Bake Until Golden and Crisp, Then Flip if Needed
Bake at 375°F (190°C) for about 8–12 minutes total, depending on thickness and your oven. Start checking at minute 7—the chips can go from golden to too dark quickly. If your pita is thicker or not split, flip the chips halfway through for even browning on both sides. When they’re done, they should feel dry and crisp, not bendy.
Pro Tip: Rotate the pans front-to-back halfway through baking; most ovens brown unevenly.
Step 4: Cool Completely for Maximum Crunch
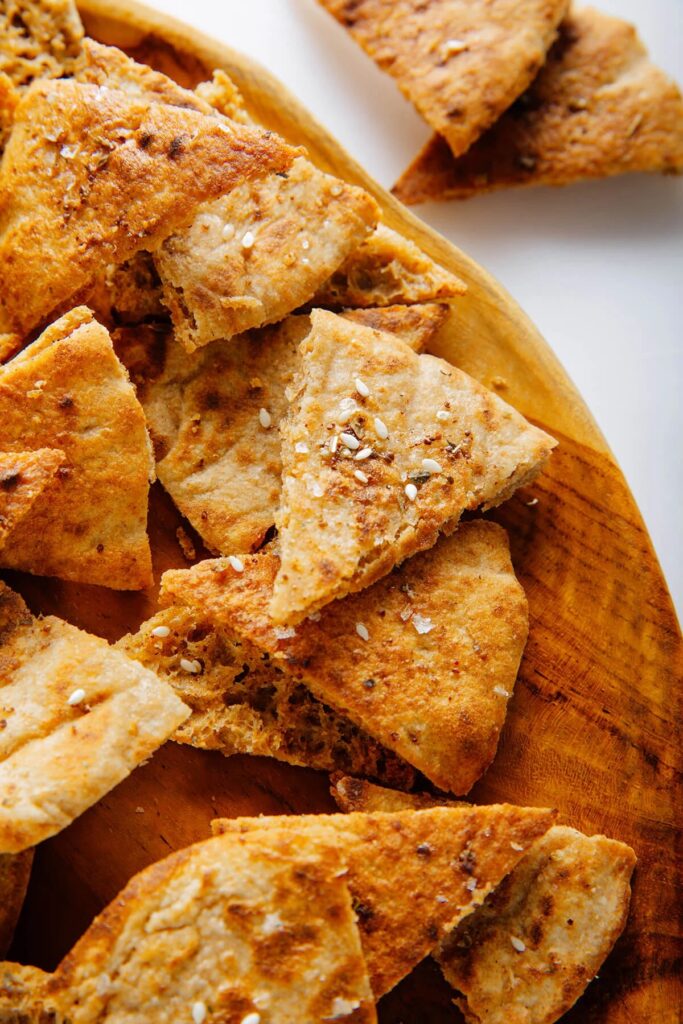
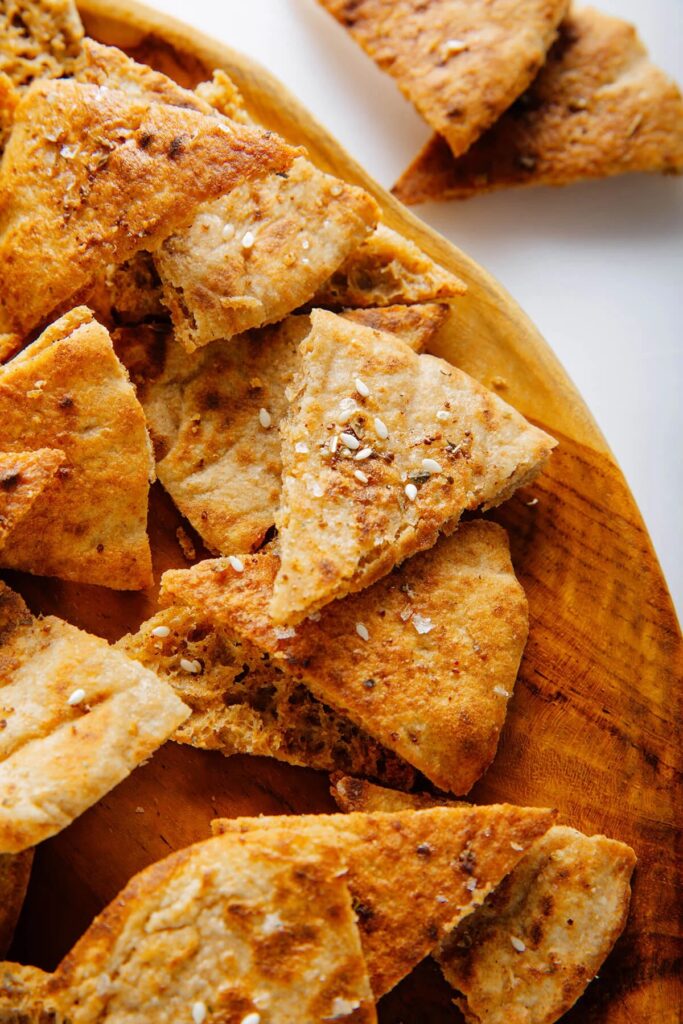
Remove the baked pita chips from the oven and let them cool on the pan for 5–10 minutes (or transfer to a rack). As they cool, the structure sets and the crunch improves—this is especially important for thicker chips. Taste one and adjust seasoning if needed; a tiny pinch of salt right after baking can make flavors pop. Once cooled, you’ll have a bowl-worthy batch of homemade pita chips ready for dipping.
Pro Tip: Don’t store chips while warm—trapped steam softens them fast.
Step 5: Serve with Hummus, Veggies, and Your Favorite Dips
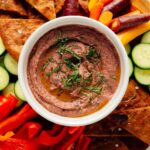
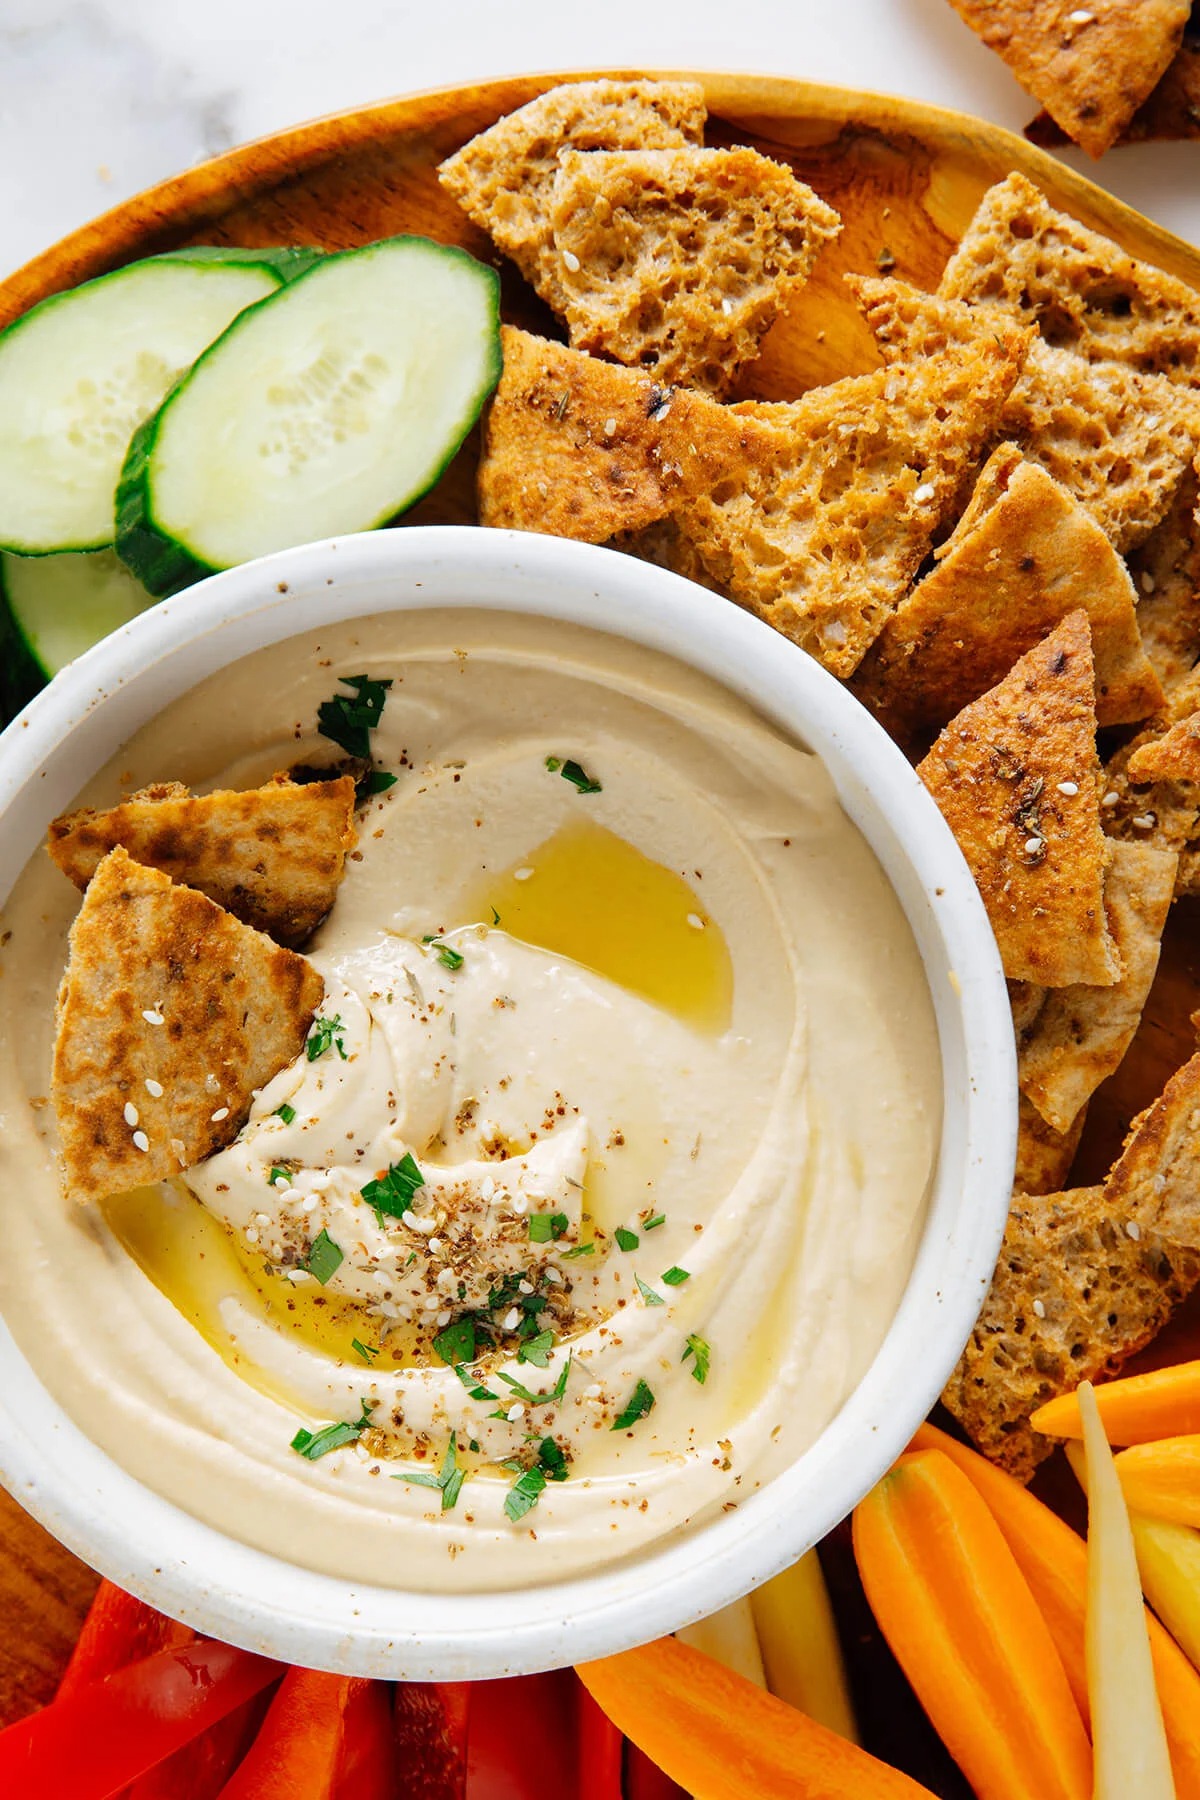
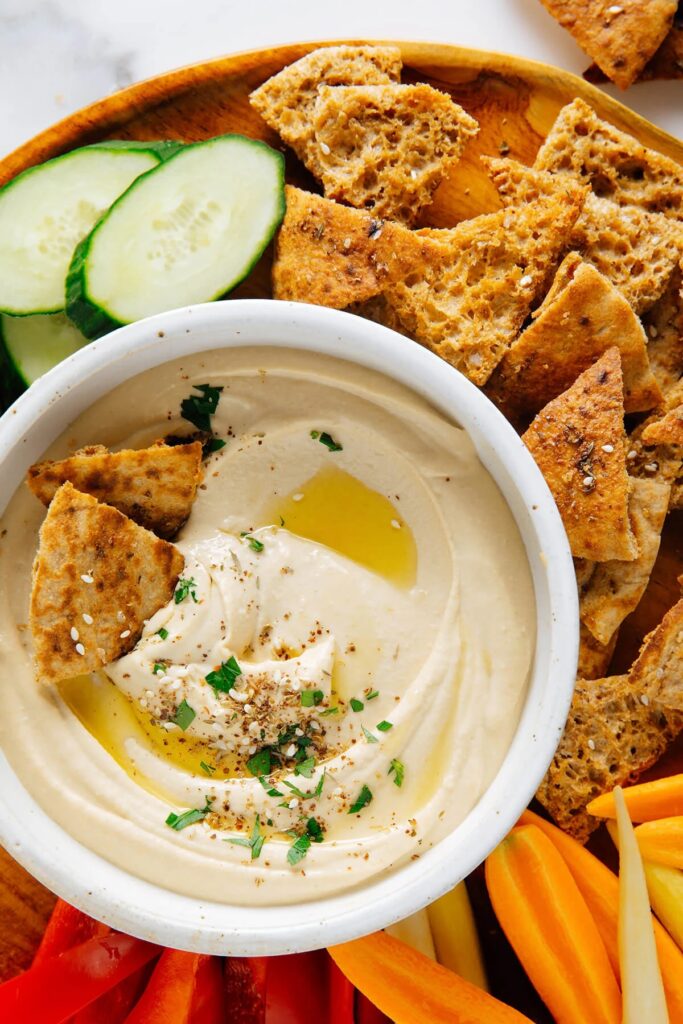
Homemade pita chips shine on a snack board: pile them next to hummus, sliced cucumbers, bell peppers, and carrots for an easy, colorful spread. They’re sturdy enough for thick dips, which is one of the best parts—no broken chips halfway through scooping. If you’re hosting, keep extra chips nearby and refill the bowl as people snack. This is the kind of appetizer that disappears faster than you expect.
Pro Tip: For extra flavor, drizzle your hummus with olive oil and sprinkle with za’atar or paprika before serving.
6. Pro Tips & Variations
3 expert tips
- Split the pita for thinner chips: Pocket pitas often split into two layers—do it for faster baking and a lighter crunch.
- Bake in a single layer: Overlapping chips trap moisture and create soft spots. Use two pans if needed.
- Cool before judging crispness: Chips crisp up as they cool; pulling them slightly early is better than overbaking and getting bitter edges.
2 variation ideas
- Za’atar Lemon Pita Chips: Use za’atar + sesame + a pinch of lemon zest (added after baking) for a bright, Middle Eastern-inspired flavor.
- Cinnamon Sugar Pita Chips: Brush with melted butter or coconut oil, sprinkle with cinnamon and sugar, and bake—perfect with fruit salsa or yogurt dip.
7. Nutritional Information per Serving
(Approximate, based on 6 servings.)
| Nutrient | Quantity |
|---|---|
| Calories | 170 kcal |
| Protein | 4 g |
| Carbohydrates | 24 g |
| Fat | 7 g |
| Fiber | 2 g |
| Sodium | 280 mg |
8. FAQ
1) Can I make homemade pita chips with whole wheat pita?
Yes, and they’re delicious. Whole wheat pita chips taste slightly nuttier and often bake up a bit sturdier. Just keep an eye on browning—whole wheat can darken faster.
2) Why are my pita chips not crispy?
Usually it’s one of three things: the chips were too thick, they overlapped on the pan, or they didn’t bake long enough. Try splitting the pita, spacing chips in a single layer, and letting them cool completely before storing.
3) How do I store homemade pita chips so they stay crunchy?
Store cooled chips in an airtight container at room temperature for up to 5–7 days. If they soften, re-crisp in a 350°F (175°C) oven for 3–5 minutes.
9. Conclusion
Homemade pita chips are one of the easiest ways to turn plain pita bread into a crunchy, flavorful snack you’ll want to keep on hand. With a little olive oil and seasoning, you get crisp baked pita chips that make any dip feel instantly more exciting.