
1. Introduction – The Story
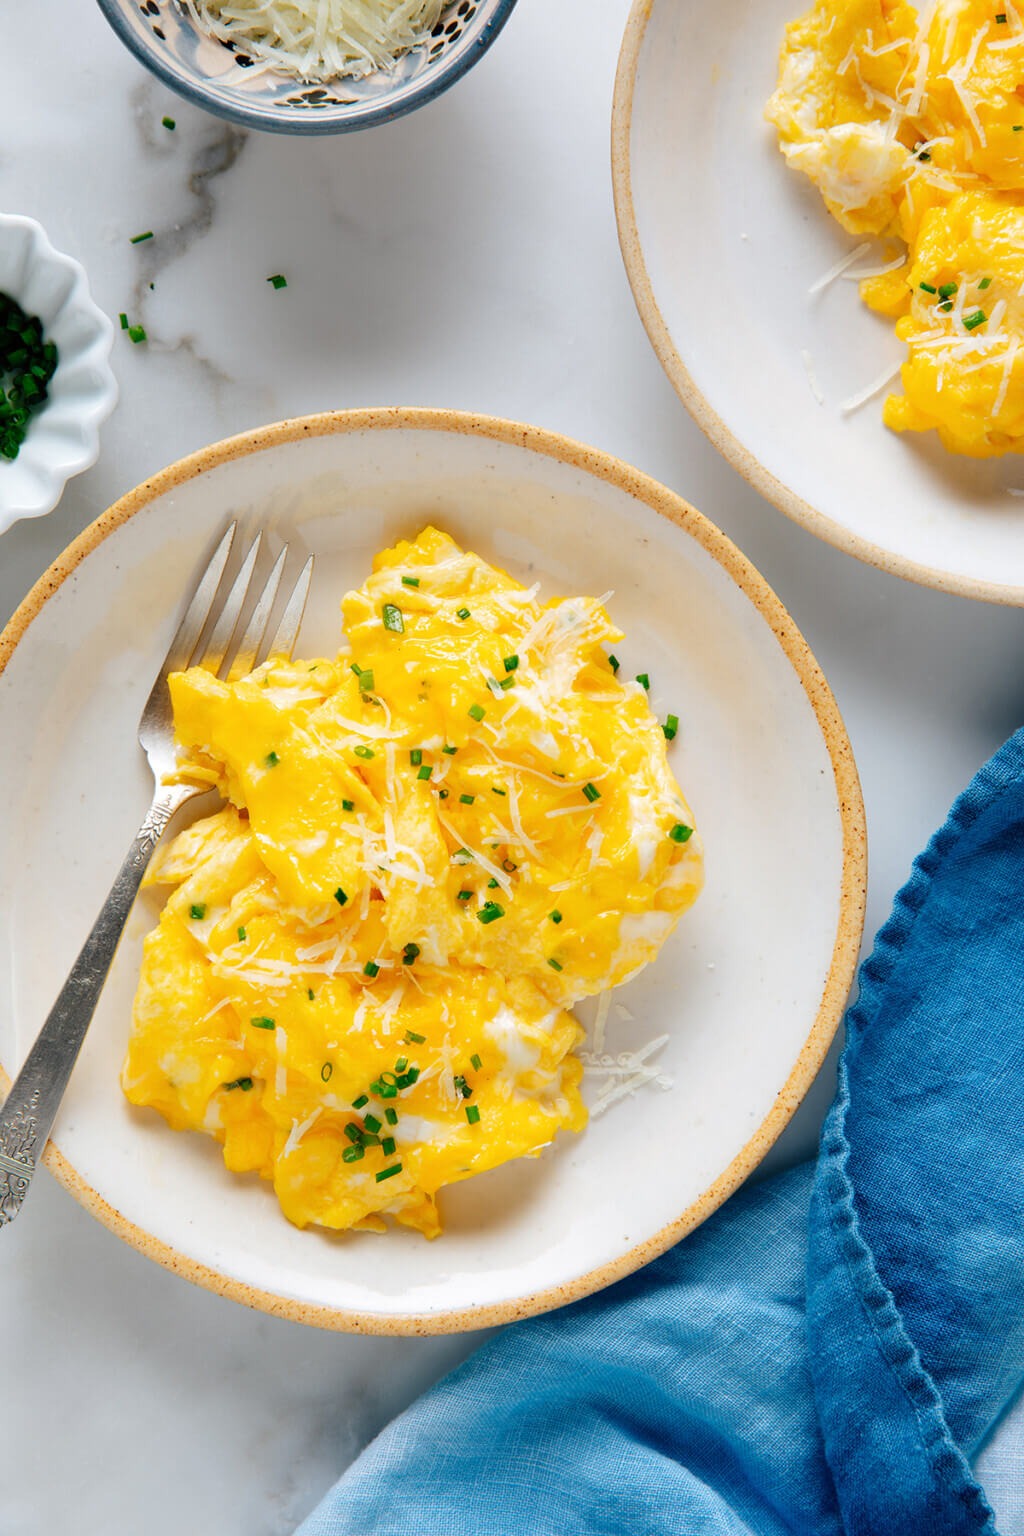
For a long time, I thought scrambled eggs were the easiest thing in the world—until I realized mine were often a little dry, a little rubbery, and never quite like the soft, glossy eggs you get at a great café. Once I learned that perfect scrambled eggs are more about technique than ingredients, everything changed. The difference came down to gentle heat, the right stirring motion, and knowing when to stop cooking. This recipe is special because it gives you consistently creamy, fluffy scrambled eggs—every single time.
- 1. Introduction – The Story
- 2. Why You Will Love This Recipe
- 3. Ingredients
- 4. Required Equipment
- 5. Step-by-Step Guide
- Step 1: Set Up Everything Before You Start Cooking
- Step 2: Whisk the Eggs Until Uniform and Slightly Frothy
- Step 3: Pour into a Buttered Pan Over Gentle Heat
- Step 4: Stir Slowly with a Spatula to Form Soft Curds
- Step 5: Stop Cooking While the Eggs Still Look Slightly Wet
- Step 6: Serve Immediately and Finish with Herbs or Cheese
- 6. Pro Tips & Variations
- 7. Nutritional Information per Serving
- 8. FAQ
- 9. Conclusion
2. Why You Will Love This Recipe
- Bold, Buttery Comfort: Creamy eggs with a silky finish taste like a luxury breakfast, even on a busy morning.
- Foolproof Technique: Clear cues for heat, timing, and doneness help you avoid dry or watery eggs.
- Endlessly Customizable: Keep it classic, add herbs, melt in cheese, or top with something fancy—perfect scrambled eggs are a blank canvas.
3. Ingredients
| Ingredient | Quantity | Pro Tip |
|---|---|---|
| Large eggs | 6 | Fresher eggs have better structure and richer flavor. |
| Milk or half-and-half | 2 tbsp | Half-and-half makes eggs extra creamy; milk keeps it lighter. |
| Unsalted butter | 2 tbsp | Butter adds flavor and prevents sticking; use cold butter for extra silkiness. |
| Fine salt | 1/2 tsp (or to taste) | Salt early for even seasoning; adjust at the end if needed. |
| Black pepper | To taste | Add at the end for the cleanest pepper flavor. |
| Chives, finely chopped (optional) | 1–2 tbsp | Stir in at the end for a fresh, oniony bite. |
| Parmesan, finely grated (optional) | 2–3 tbsp | Adds nutty umami; sprinkle right before serving. |
4. Required Equipment
- Mixing bowl or measuring jug
- Whisk or fork
- Nonstick skillet or stainless-steel skillet
- Silicone spatula
- Measuring spoons
- Plate (to serve immediately)
5. Step-by-Step Guide
Step 1: Set Up Everything Before You Start Cooking
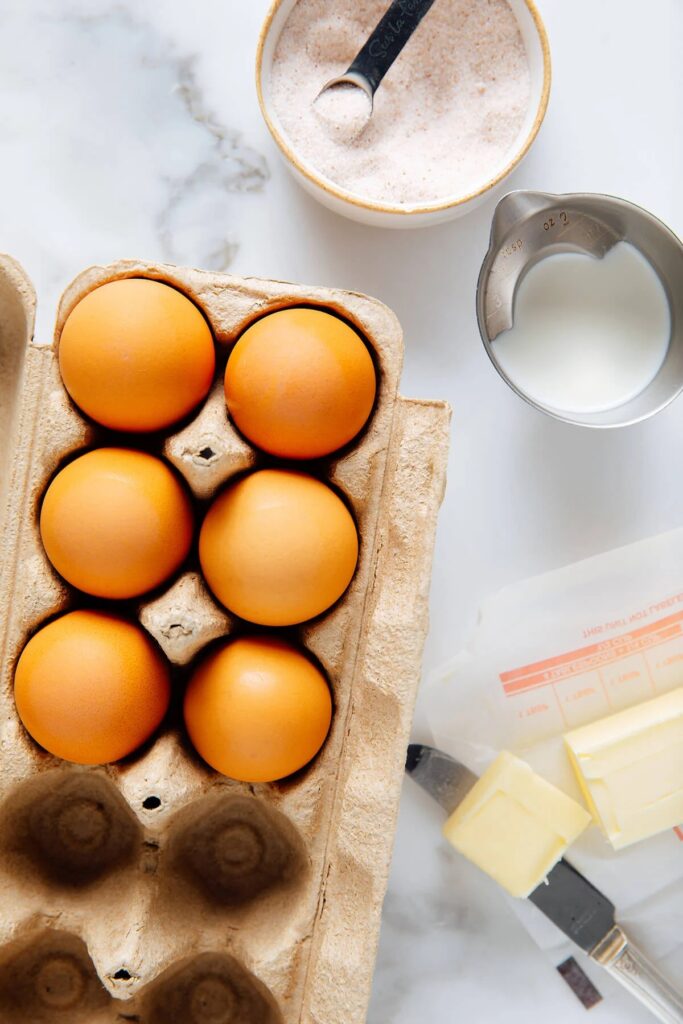
Perfect scrambled eggs cook quickly, so have your eggs, butter, salt, and milk ready before the pan heats up. Measure the milk and salt, and set aside any optional toppings like chopped chives or grated Parmesan. This small bit of organization makes the cooking feel calm and controlled—exactly what you want when timing matters. If your eggs are very cold, let them sit out for 5–10 minutes for smoother cooking.
Pro Tip: Keep your serving plate nearby—scrambled eggs lose their perfect texture if they sit in the pan.
Step 2: Whisk the Eggs Until Uniform and Slightly Frothy
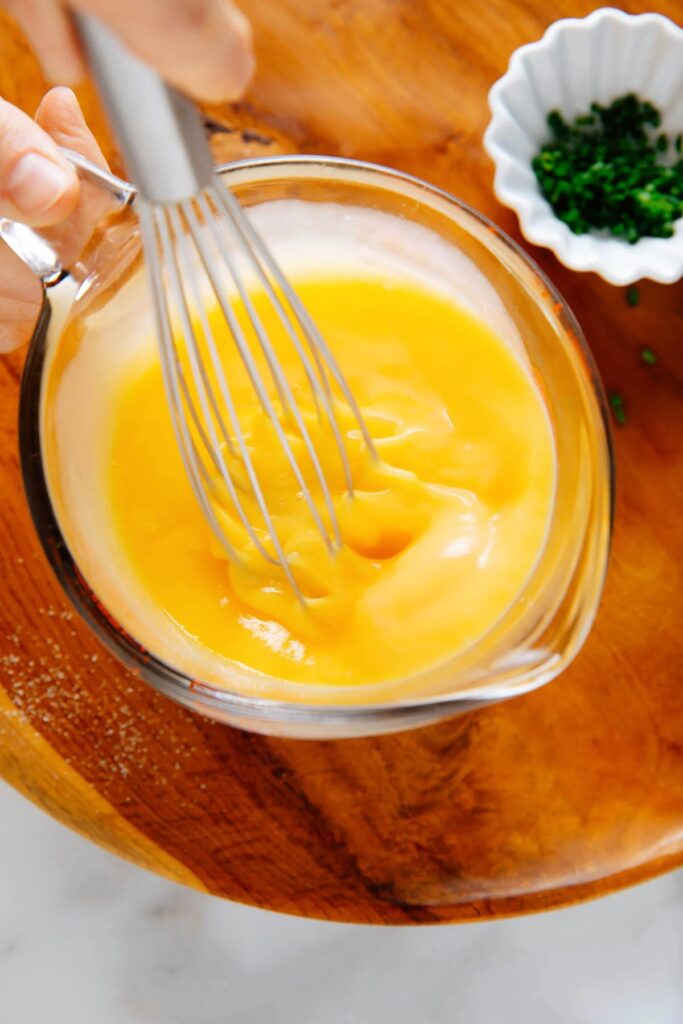
Crack the eggs into a bowl, add the milk (or half-and-half) and salt, and whisk until the mixture is completely uniform. You’re looking for no streaks of yolk or white—just one consistent pale yellow color. A little froth is good; it introduces air, which helps create lighter curds. If you’re using chives, you can whisk in a pinch now or stir them in later for a brighter finish.
Pro Tip: Whisk for about 20–30 seconds—enough to combine well, not so long that it becomes foamy like a meringue.
Step 3: Pour into a Buttered Pan Over Gentle Heat
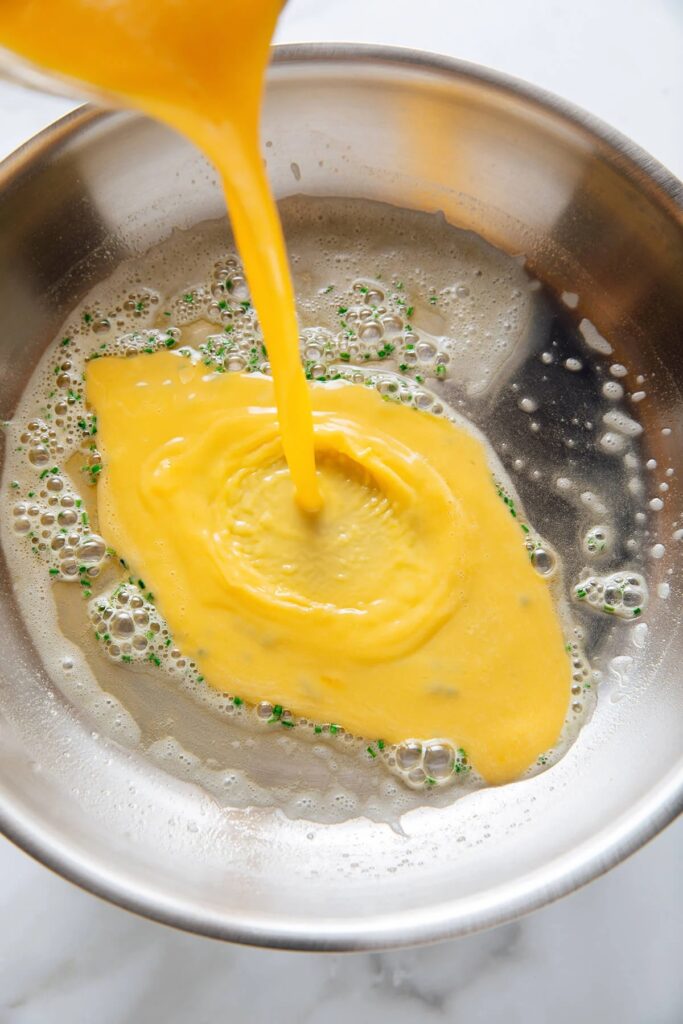
Warm your skillet over low to medium-low heat and add butter. Once the butter is melted and just starting to foam (not brown), pour in the egg mixture. The key here is gentle heat: it gives you creamy scrambled eggs instead of dry, chunky ones. You’ll see the eggs begin to set around the edges first—this is your cue to start moving them.
Pro Tip: If the butter starts browning, the pan is too hot—remove it from heat for 30 seconds before adding the eggs.
Step 4: Stir Slowly with a Spatula to Form Soft Curds
Use a silicone spatula to slowly push the eggs from the edges toward the center, creating soft folds. Keep the motion gentle and continuous, scraping the bottom so nothing sticks or overcooks. If you prefer larger, fluffy curds, stir less frequently; for smaller, creamier curds, stir more often. The eggs should look glossy and slightly loose for most of the cooking time—don’t rush it.
Pro Tip: Pull the pan off the heat for 10–15 seconds if the eggs start setting too fast; residual heat will continue cooking them.
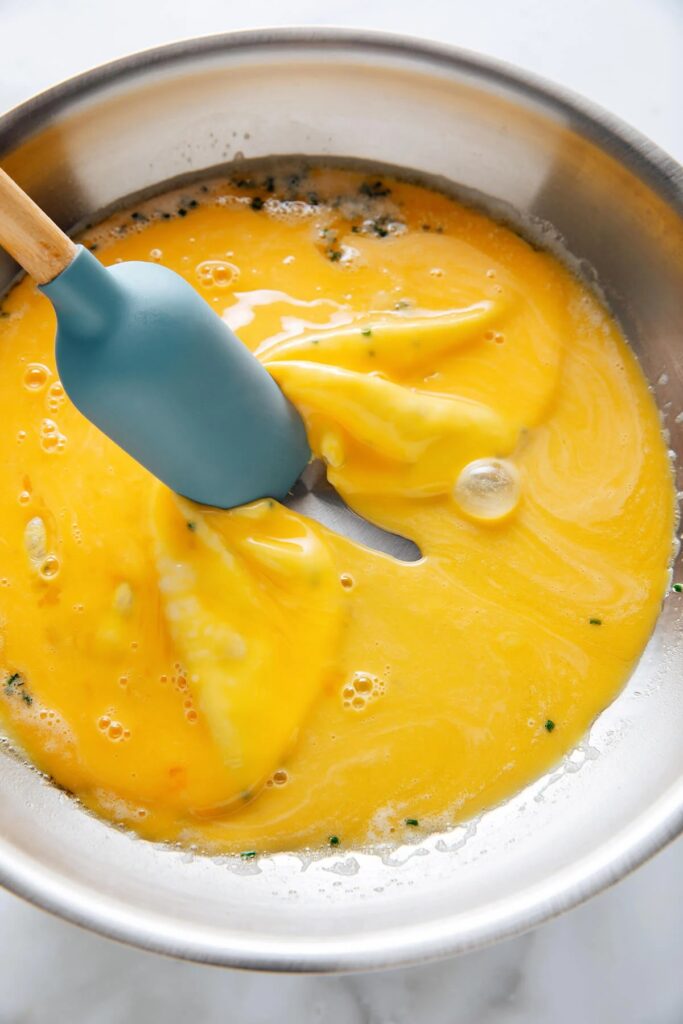
Step 5: Stop Cooking While the Eggs Still Look Slightly Wet
This is the moment that separates “good” from “perfect.” When the eggs are mostly set but still look a little shiny and soft, remove the pan from heat. They will continue to cook from residual heat for another 30–60 seconds, so stopping early prevents dryness. If you’re adding cheese, sprinkle it in now and fold gently—heat will melt it into the eggs without overcooking.
Pro Tip: If you’re unsure, err on the side of underdone—overcooked scrambled eggs can’t be fixed, but slightly soft eggs will finish perfectly on the plate.
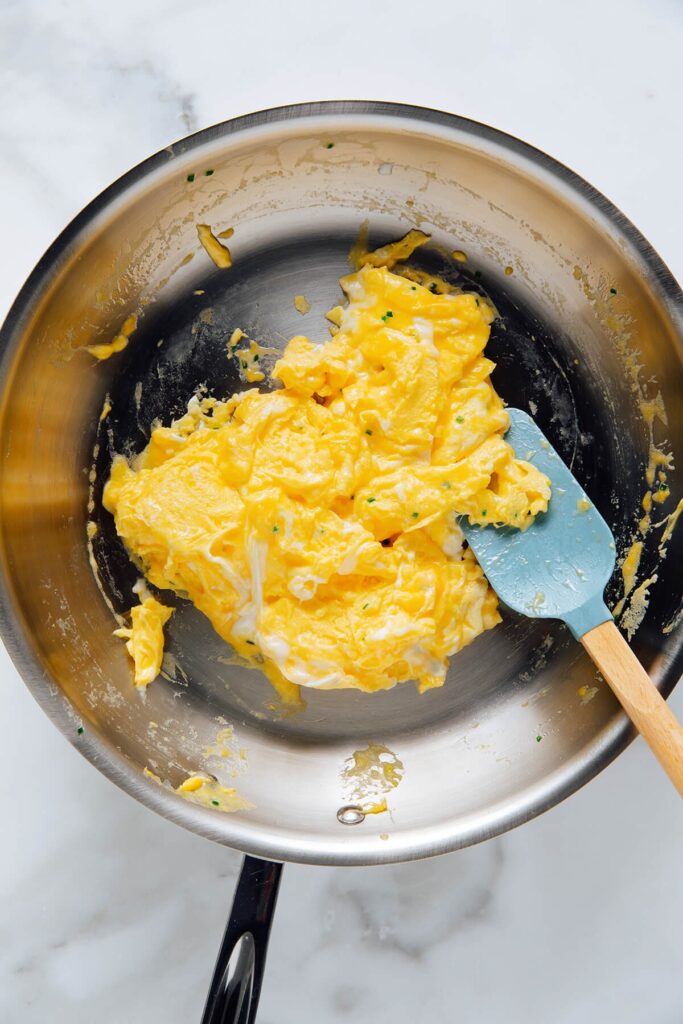
Step 6: Serve Immediately and Finish with Herbs or Cheese
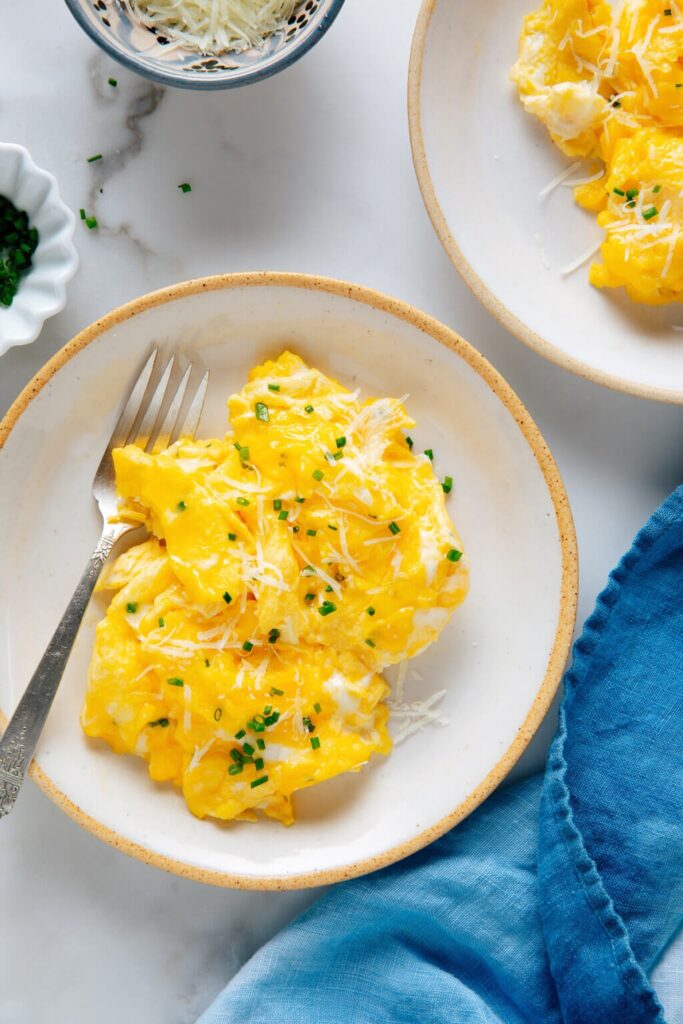
Spoon the eggs onto a plate right away so they don’t continue cooking in the hot pan. Top with chopped chives, a little Parmesan, and fresh black pepper for a simple but elevated finish. These perfect scrambled eggs are great with toast, avocado, smoked salmon, or just eaten straight from the plate. The texture should be soft, creamy, and rich—never rubbery.
Pro Tip: Warm your plate for 30 seconds (in a low oven or with hot water) to keep the eggs hot without overcooking them.
6. Pro Tips & Variations
3 expert tips
- Low heat wins: High heat is the fastest way to dry eggs. Medium-low lets curds form slowly and stay creamy.
- Use a spatula, not a whisk in the pan: A spatula creates soft folds and prevents breaking curds into dry bits.
- Carryover cooking is real: Remove eggs from the heat when they still look slightly wet; they’ll finish cooking on the plate.
2 variation ideas
- Creamy “French-Style” Scramble: Cook on very low heat, stirring almost constantly for tiny curds; add 1 extra tablespoon butter at the end for an ultra-silky finish.
- Breakfast Burrito Eggs: Skip milk, cook slightly firmer, and fold in shredded cheddar; perfect for wrapping with salsa, beans, and avocado.
7. Nutritional Information per Serving
(Approximate, based on 2 servings.)
| Nutrient | Quantity |
|---|---|
| Calories | 330 kcal |
| Protein | 20 g |
| Carbohydrates | 2 g |
| Fat | 27 g |
| Fiber | 0 g |
| Sodium | 520 mg |
8. FAQ
1) Should I add milk to scrambled eggs?
You don’t have to, but a small amount helps loosen the mixture and can make the texture creamier. If you want richer eggs, use half-and-half; if you prefer a more “pure egg” taste, skip it and rely on butter.
2) Why do my scrambled eggs turn watery?
Watery eggs usually come from cooking too low and not letting moisture evaporate, or from adding too much milk. Use just a little dairy, and cook gently but long enough for the eggs to set. Also, avoid covering the pan—steam can make eggs wet.
3) Can I make scrambled eggs ahead of time?
Scrambled eggs are best fresh, but you can reheat gently if needed. Store in the fridge up to 2 days and reheat on low with a small pat of butter, stirring carefully. Expect a slightly firmer texture than fresh.
9. Conclusion
Perfect scrambled eggs are all about gentle heat, patience, and stopping at the right time. Once you master this method, you’ll have creamy, fluffy eggs that feel café-worthy—whether it’s a quick weekday breakfast or a slow weekend brunch.