
1. Introduction – The Story
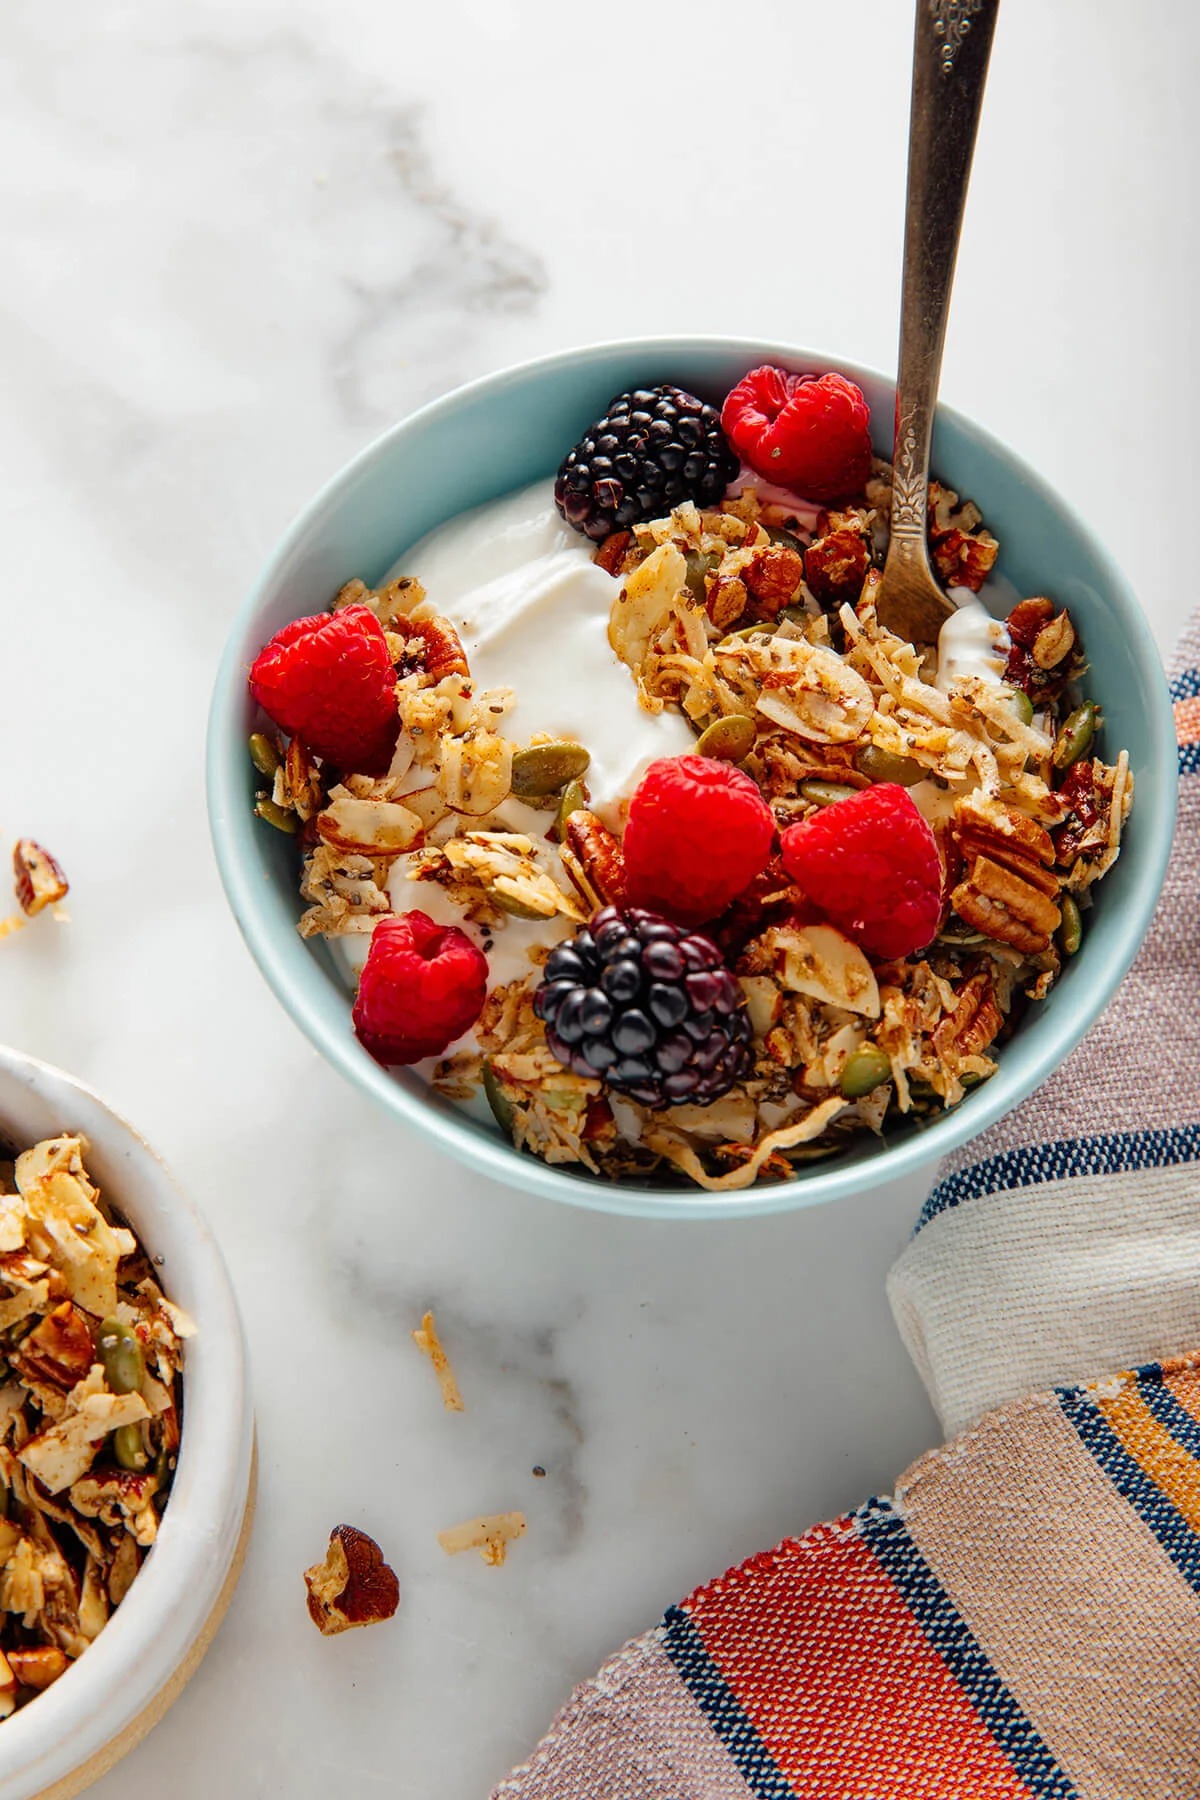
I started making grain-free granola when I realized my “healthy” store-bought granola was basically dessert—super sweet, not very filling, and honestly expensive for what it was. The first homemade batch surprised me: it tasted richer, toasted, and way more satisfying, with big crunchy clusters that made yogurt feel like a café breakfast. This version became my staple because it’s naturally gluten-free, easy to customize, and doesn’t rely on oats to feel like real granola. If you love a crunchy topping that’s snackable straight from the jar, this one is for you.
- 1. Introduction – The Story
- 2. Why You Will Love This Recipe
- 3. Ingredients
- 4. Required Equipment
- 5. Step-by-Step Guide
- Step 1: Prep Your Grain-Free Granola Ingredients
- Step 2: Mix the Dry Ingredients for a Perfect Paleo Granola Base
- Step 3: Add the Sticky Sweeteners, Then Bake Until Deeply Toasted
- Step 4: Cool Completely, Then Serve on Yogurt (or Snack by the Handful)
- 6. Pro Tips & Variations
- 7. Nutritional Information per Serving
- 8. FAQ
- 9. Conclusion
2. Why You Will Love This Recipe
- Bold Crunch + Clusters: Nuts, seeds, and coconut toast into crisp, golden pieces with satisfying granola-style clumps.
- Naturally Gluten-Free & Grain-Free: A perfect grain-free granola for anyone avoiding oats, wheat, or traditional cereals.
- Meal-Prep Friendly: Make one pan and you’ve got quick breakfasts and snack options for the entire week.
3. Ingredients
| Ingredient | Quantity | Pro Tip |
|---|---|---|
| Raw pecans, roughly chopped | 1 cup | Chop into mixed sizes so you get both crunchy bits and bigger clusters. |
| Sliced almonds | 3/4 cup | Add some on top halfway through baking for extra toasty edges. |
| Pumpkin seeds (pepitas) | 3/4 cup | These toast quickly—stir once during baking to prevent scorching. |
| Unsweetened shredded coconut | 1 1/2 cups | Use unsweetened; sweetened coconut can burn and make it overly sugary. |
| Chia seeds | 2 tbsp | Chia helps bind and adds crunch once baked. |
| Ground cinnamon | 1 1/2 tsp | Cinnamon brings warmth and makes this taste “classic granola.” |
| Fine sea salt | 1/2 tsp | Salt is essential for balancing sweetness and highlighting toasted nuts. |
| Honey | 1/3 cup | Honey creates great clusters; warm it slightly if it’s thick. |
| Maple syrup | 2 tbsp | Adds caramel depth and a cozy flavor. |
| Avocado oil (or melted coconut oil) | 3 tbsp | Oil helps everything crisp up evenly; coconut oil adds extra flavor. |
| Vanilla extract | 1 tsp | Add after warming the sweeteners so the flavor stays fragrant. |
4. Required Equipment
- Rimmed baking sheet
- Parchment paper (highly recommended)
- Large mixing bowl
- Small saucepan or microwave-safe bowl (to warm sweeteners)
- Spatula
- Measuring cups/spoons
- Cooling rack (optional but helpful)
5. Step-by-Step Guide
Step 1: Prep Your Grain-Free Granola Ingredients
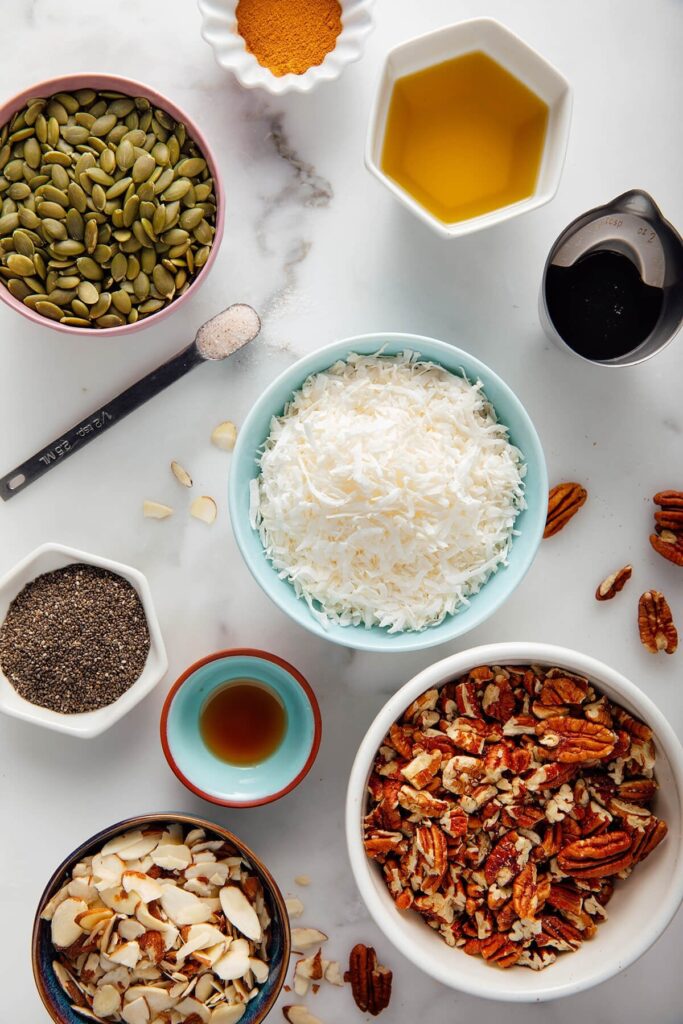
Set out all your nuts, seeds, coconut, spices, and wet ingredients so mixing goes quickly. This recipe works best when you measure everything first—grain-free granola toasts fast, so you don’t want to be searching for cinnamon while the oven preheats. Preheat your oven to 325°F (165°C) and line a rimmed baking sheet with parchment paper for easy cleanup. If your nuts are very large, give them a quick rough chop so the final texture is balanced.
Pro Tip: Use fresh nuts and seeds—if they smell “stale” before baking, they’ll taste stale after baking too.
Step 2: Mix the Dry Ingredients for a Perfect Paleo Granola Base
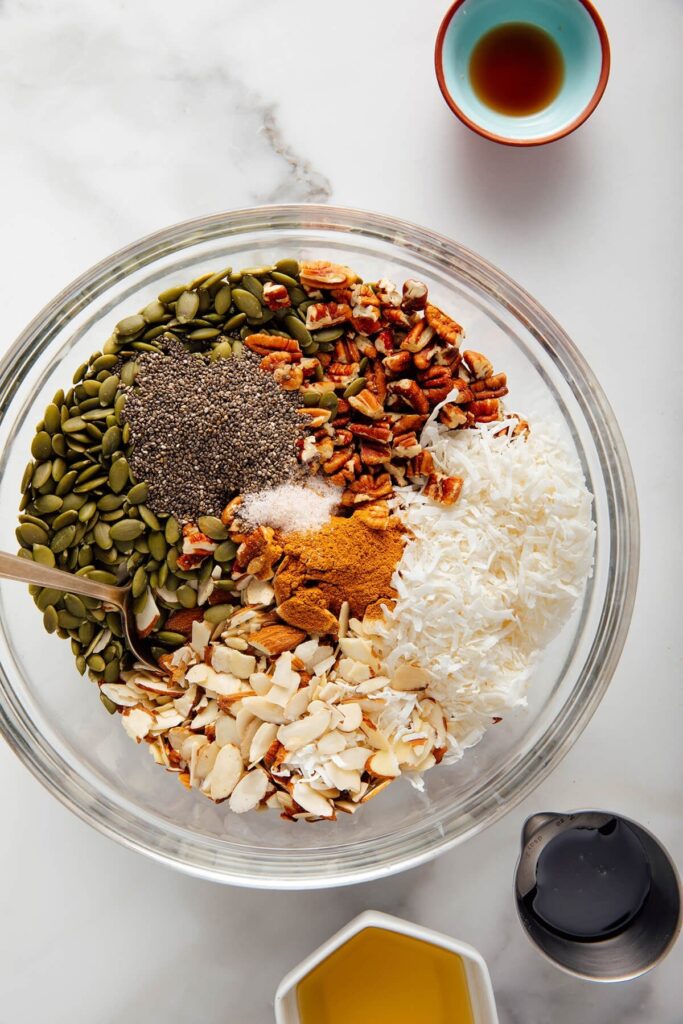
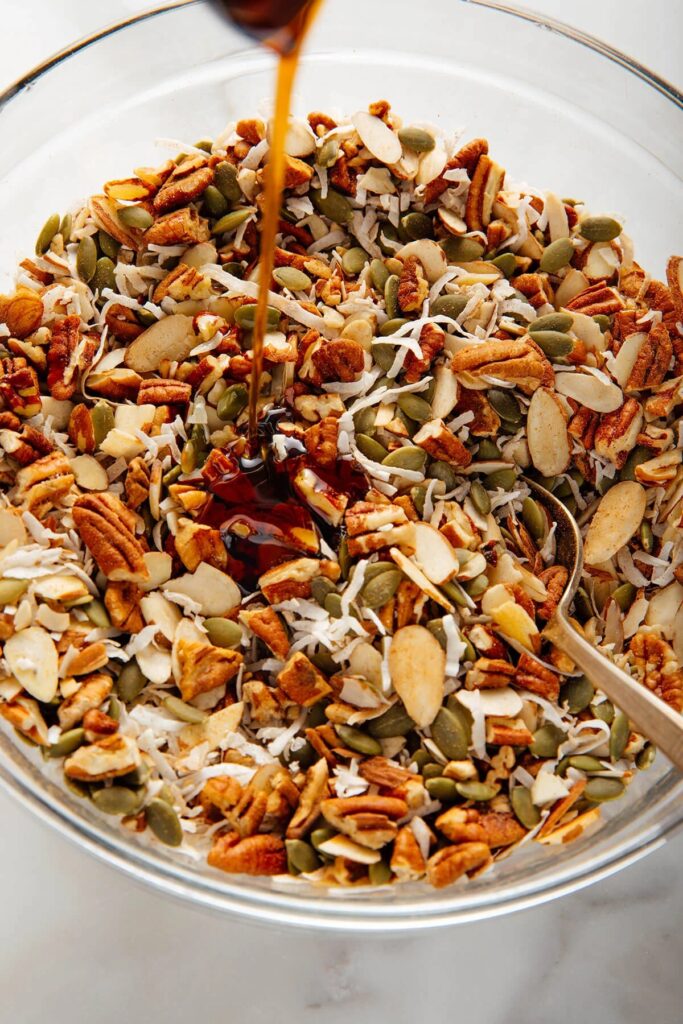
In a large bowl, combine pecans, sliced almonds, pumpkin seeds, shredded coconut, chia seeds, cinnamon, and salt. Stir well so the spices and salt are evenly distributed—this is what keeps homemade grain-free granola from tasting bland in some bites and overpowering in others. Notice how “granola-like” it already looks even without oats; the mix of sizes is exactly what makes it satisfying. Set this bowl aside while you prepare the sticky sweetener mixture.
Pro Tip: If you love extra clusters, slightly crush a small portion of coconut and nuts with your hands—those smaller bits help the mix stick together.
Step 3: Add the Sticky Sweeteners, Then Bake Until Deeply Toasted
Warm the honey, maple syrup, and oil just until fluid (either in a small saucepan over low heat or in the microwave for 15–25 seconds). Stir in the vanilla, then pour the mixture over the dry ingredients and mix until everything is glossy and coated. Spread the granola in an even layer on your parchment-lined baking sheet, then press it down firmly with a spatula—this is the secret to chunky clusters. Bake for 20–28 minutes, stirring once halfway through for even browning, then press it down again after stirring.
Pro Tip: Don’t over-stir—too much mixing while baking breaks up clusters and creates a looser, “crumbly” granola.
Step 4: Cool Completely, Then Serve on Yogurt (or Snack by the Handful)
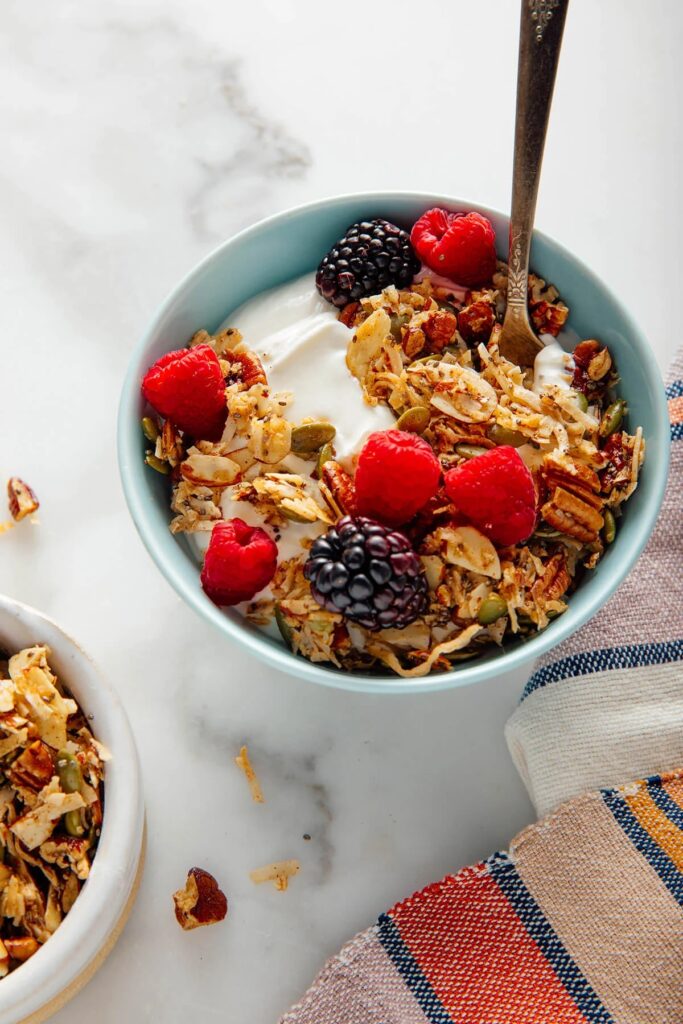
When the granola looks golden and smells nutty, take it out and let it cool on the pan without touching it for at least 20 minutes. Grain-free granola crisps as it cools, so it will feel slightly soft right out of the oven but turns crunchy once cooled. Break into clusters and serve over yogurt with fresh berries for a simple, high-impact breakfast, or sprinkle it on smoothie bowls. It’s also excellent as a snack—like a naturally gluten-free trail mix, but crunchier.
Pro Tip: For maximum crunch, cool the granola completely before transferring to a jar; trapping steam can soften it.
6. Pro Tips & Variations
3 expert tips
- Press = clusters: The more firmly you press the mixture onto the pan before baking (and after the mid-bake stir), the chunkier your grain-free granola will be.
- Watch the coconut: Coconut can go from toasted to burnt quickly. If your oven runs hot, start checking at the 18-minute mark and rotate the pan.
- Cool before breaking: This is non-negotiable. Cooling is when the sweeteners set and lock everything into crisp granola chunks.
2 variation ideas
- Chocolate Chip Grain-Free Granola: After the granola cools completely, stir in 1/3 cup mini dark chocolate chips. (If you add them warm, they melt.)
- Spiced Orange-Nut Version: Add 1 tsp orange zest and a pinch of cardamom with the dry ingredients. It tastes bright and slightly floral—amazing with Greek yogurt.
7. Nutritional Information per Serving
(Approximate, based on 8 servings of about 1/2 cup each.)
| Nutrient | Quantity |
|---|---|
| Calories | 320 kcal |
| Protein | 7 g |
| Carbohydrates | 18 g |
| Fat | 26 g |
| Fiber | 6 g |
| Sugar | 10 g |
8. FAQ
1) Is grain-free granola the same as gluten-free granola?
Not always. Grain-free granola is typically gluten-free because it avoids grains like wheat and oats, but always check ingredient labels (especially for cross-contamination) if you’re highly sensitive or have celiac disease.
2) How do I store homemade grain-free granola to keep it crunchy?
Store it in an airtight jar or container at room temperature for up to 2 weeks. For extra crunch in humid climates, add a small silica packet meant for food storage (optional) or store it in the fridge.
3) Can I reduce the sweetener?
You can, but clusters may be smaller and the texture a bit looser. If you cut sweetener, keep enough sticky binder (honey or maple) so the mix still coats well—otherwise it can toast into dry, separate bits.
9. Conclusion
This grain-free granola is crunchy, toasty, and endlessly customizable, with the kind of clusters that make breakfast feel like a treat. Once you try it homemade, it’s hard to go back to store-bought—especially when one pan gives you a week of quick toppings and snacks.